Tutorial Preview
Highlights
1. Carving and Ganaching the Cake
Strapped for time? Why not skip to the Highlights lesson.
Paul starts off this tutorial by explaining the design and gets straight to carving the shape. You will be pleased to know that the carving is very minimal and easy to do. You are going to love making this cake! After around one minute of carving, it’s onto ganaching the cake in preparation to be covered in sugarpaste. After the front and back have been ganached, place the cake in the fridge for a few minutes and then we can move onto the next lesson.
2. Ganaching the Cake
3. Finishing the Ganaching of the Cake
4. Icing the Top of the Cake
5. Making a Template and Adding the Frills
6. Icing the Board and the Front of the Cake
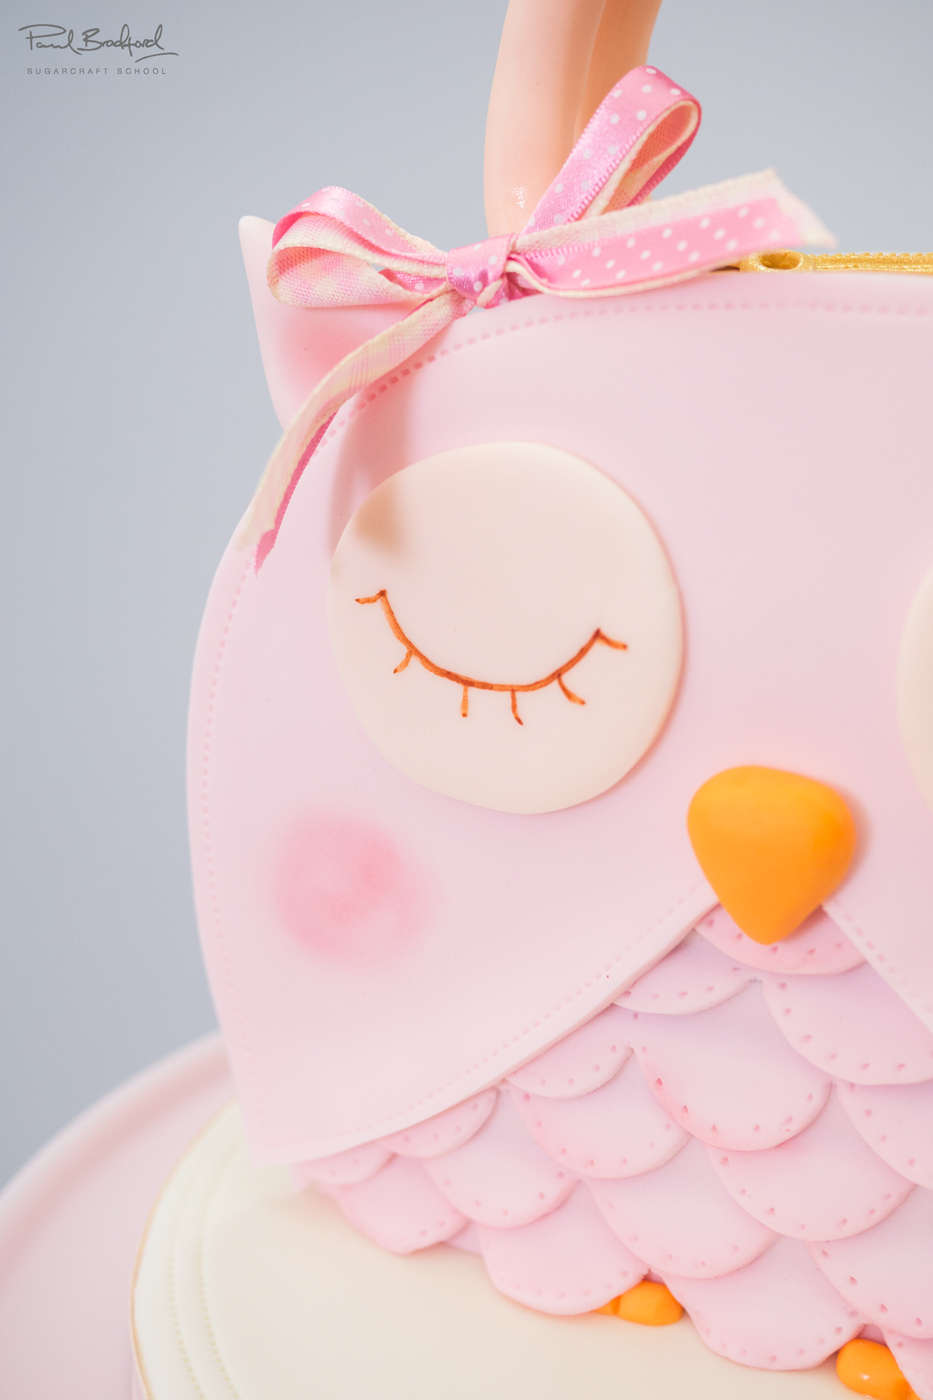
7. Adding the Nose and Eyes
8. Painting the Eyes and Adding Blusher to the Cake
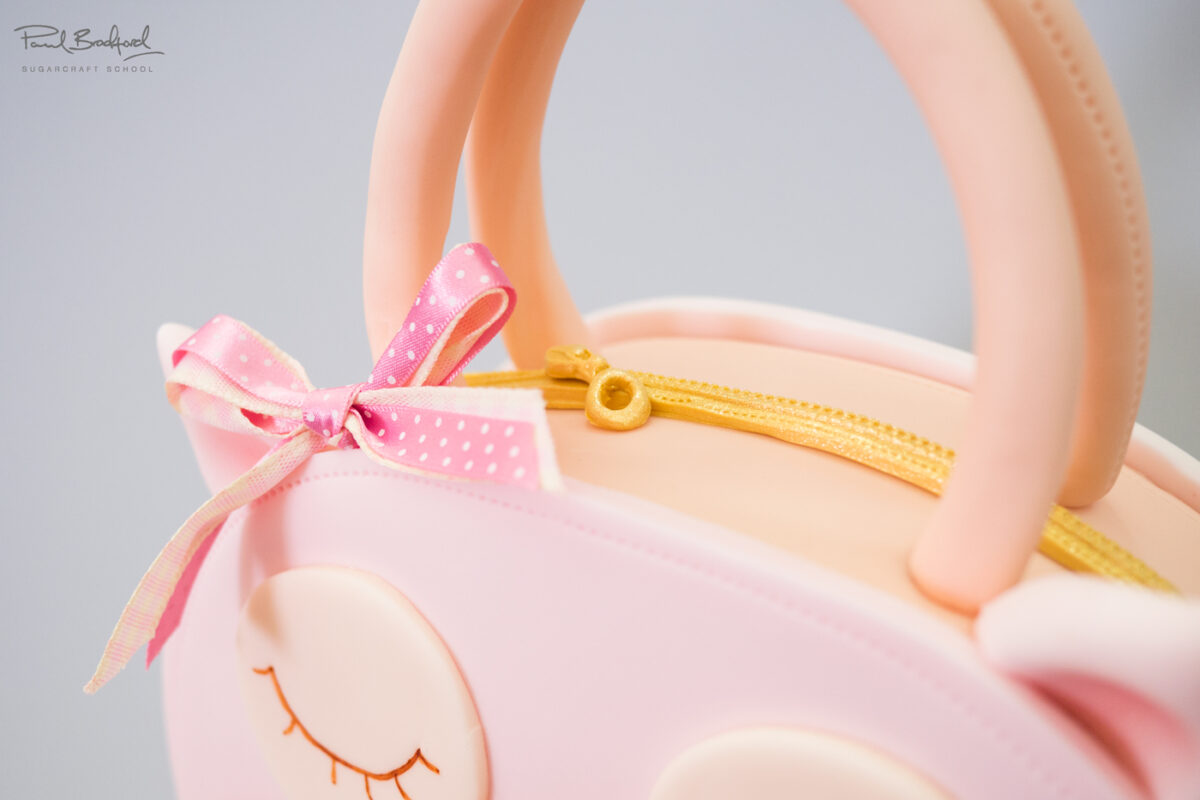
9. Adding the Feet and the Zip
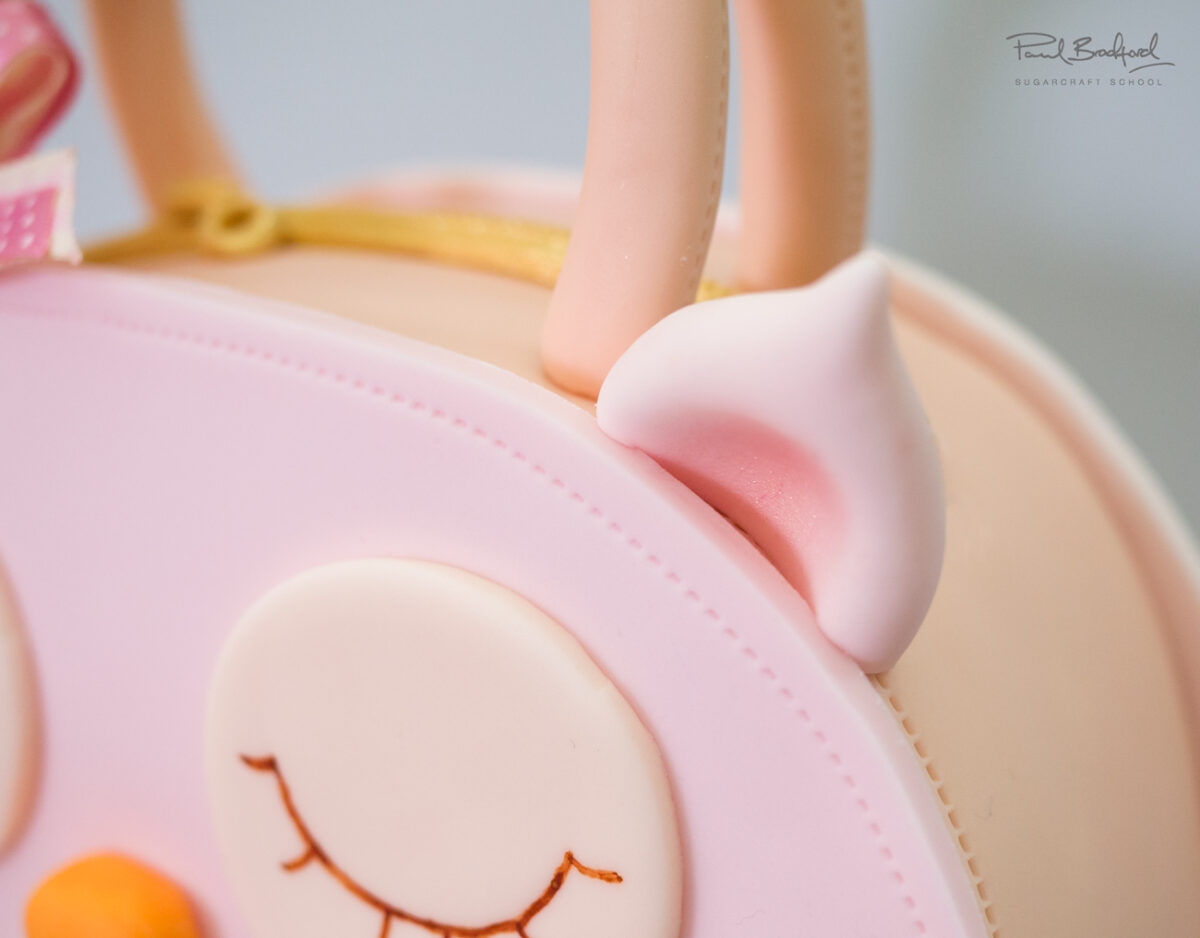
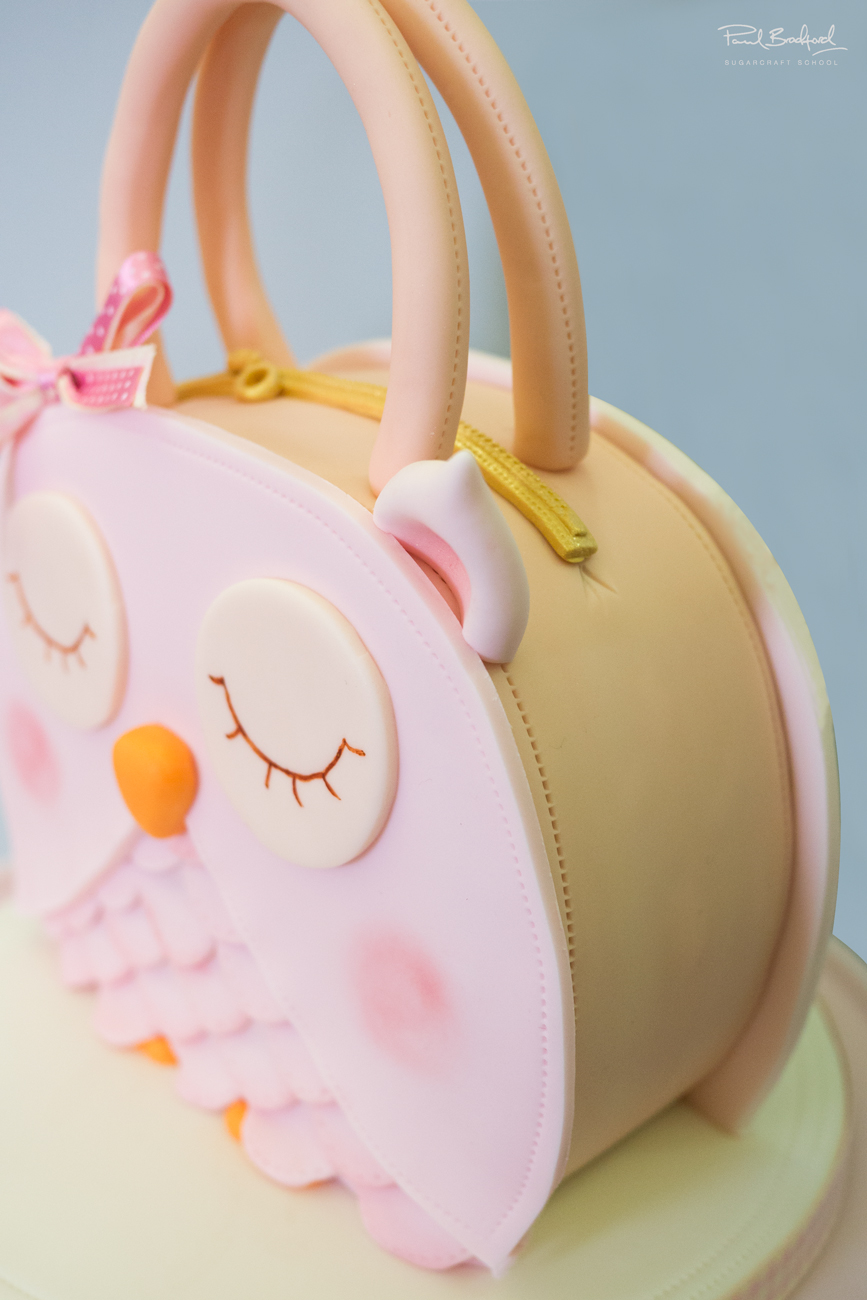
10. Adding the Handles, Ears and Bow
Gather some 20 gauge wires, sugarpaste and florist tape and you’re ready to make the handles. Simply roll out two long, thick sausage shapes using your hands or some cake smoothers and then insert the wire. Put your posy picks in the cake ready to hold the handles to make it food safe. Paul doesn’t need to worry about this step as his cakes don’t get eaten…unfortunately. The rest is just as easy. Paul shows us a quick way to make owl ears and a cute little bow. And now we’re all finished!
11. Other Ideas
12. Pro Lesson
Paul introduces us to the adorable Owl Handbag Cake which is suitable for beginners and is a great cake to make for those who want to learn a variety of beginners skills or have a special celebration cake to make for a little girl – the colours can easily be adapted to your preference to create the perfect cake.
We would love to see your take on the Owl Handbag Cake – please share your photos with us on our Facebook Page!