Tutorial Preview
Highlights
Here we have carefully selected the key parts from the entire tutorial and condensed it in to an 8 minute long video. More than enough to get you started without taking up your time!
1. Preparing the cake
The other cakes are cake dummies, but you can learn to how to prepare and cover a double barrel cake.
In this lesson, Faye demonstrates how to get the hexagonal shape and then how to prepare it in a way that makes ganaching a simpler process. Faye is later going to demonstrate using the lid technique when applying the ganache, which may or not be your preferred method, but it’s always good to see different ways of doing things.
2. Adding the crumb coat
Here Faye adds a nice thick crumb coat all around and on top of the cake while using a large plastic smoother to get a nice clean finish on the top. She then adds another thick layer to the top of the cake and places in the fridge for it to firm up.
3. Applying ganache Pt 2
In this lesson, Faye adds another thick layer of ganache to the lid of the cake whilst checking it’s level. Fay goes all around the cake using a ruler to make sure it’s all the same height. You could always use a spirit level that you don’t mind getting covered in chocolate. Then it’s simply a case of applying more ganache where necessary until it’s all level. Here Faye demonstrates the lid technique for the ganaching of the cake. First of all she dampens it with a little water to make sure the lid comes back off with ease, then she applies one of the hexagonal cake drums down (shiny side) onto the cake. She then makes her way round the cake applying a thick layer of ganache and then uses a scraper rested against the bottom and top drum to get sharp edges.
4. Finishing the ganache
This lesson, Faye neatens up all the edges a little more and then removes the lid with a sharp knife dipped in hot water. Once the lid is off it’s just a case of filling in any little air bubble holes with some runny ganache, and then giving everything a final scrape before allowing it to set. Faye advises leaving it overnight ideally, before moving on to covering it. However firm ganache can be covered almost right away without any issues.
5. Covering the cake
Now that the ganaching is complete it’s time to move on to covering the cake. This process is incredibly satisfying, but is trickier than it at first appears. Faye combines using her hand, as well as large plastic smoothers, plus acetate smoothers to get the lovely sharp edges. Again this whole process is easier if the cake has been left overnight, but she shows us it’s possible to achieve great results with a newly ganached cake.
6. Painting the bottom tier
Faye starts the lesson by finishing the edges of the cake making sure it’s perfect and then moves onto painting where she uses Lustre mixed with high percentage alcohol. She first paints it on with a dry large brush and then uses another clean dry brush to then create the strokes and buff while it is drying. Two coats like this and then we’re done with the bottom tier for now.
7. Stacking the cakes
Faye has been super organised and prepared the two round cakes before we even started. Learn how to prepare and cover a large round cake by watching our tutorial. She simply dowels the bottom tier and then places each cake on top of the other, securing them with a little soft peak royal icing.
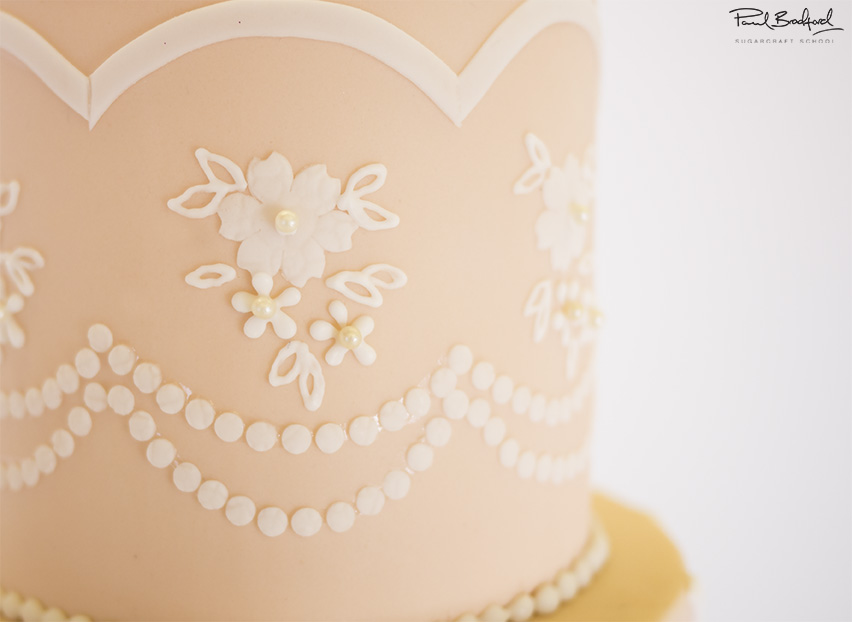
Faye then prepares a template on some parchment paper. You can have a go at creating your very own one or download the designs from the templates section. She wraps it around the cake and then uses a flower frilling tool to scribe the design gently into the cake.
8. Adding the design to the top tier
Here Faye uses thinly rolled out sugarpaste cut into strips and circles with a piping nozzle to complete the design for the top tier. If you’re confident with your piping then you could always use royal icing. Wait and see Faye’s clever trick to quickly adding a lovely finish to the design!
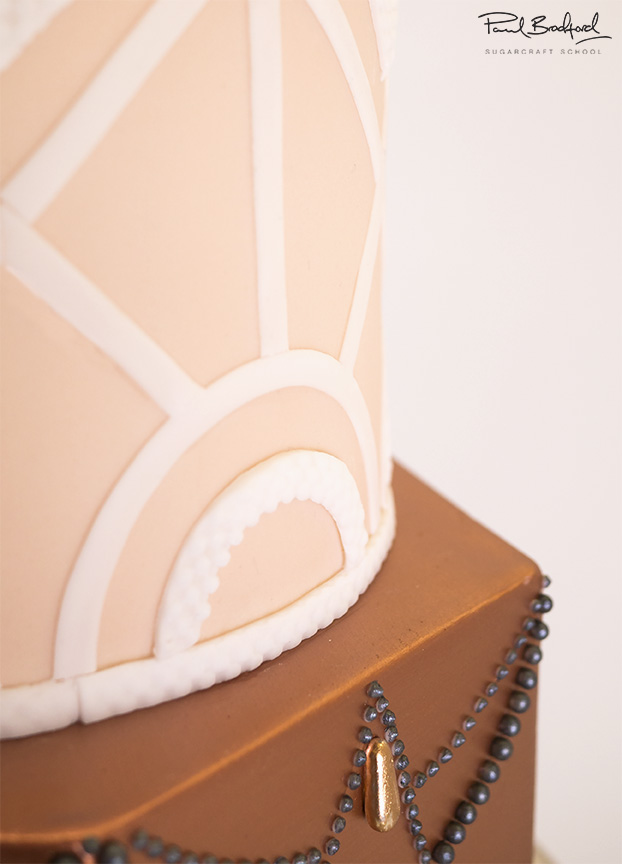
9. Adding the design to the middle tier
In this lesson Faye starts on the design for the middle tier, which is a mixture of different shapes and uses thin pieces of sugarpaste attached with a little edible glue. The template for this tier is also available for download.
10. Adding the design to the bottom tier
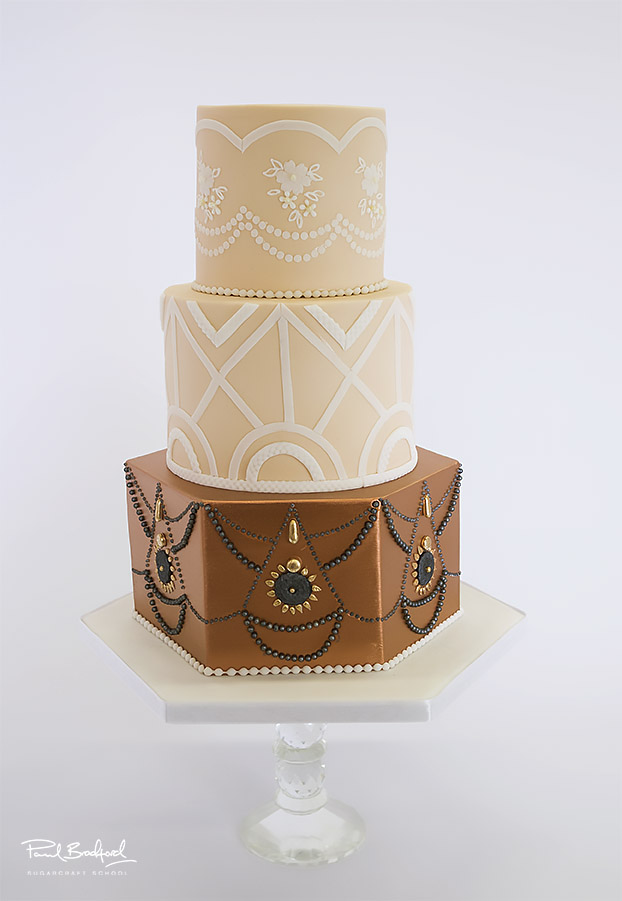
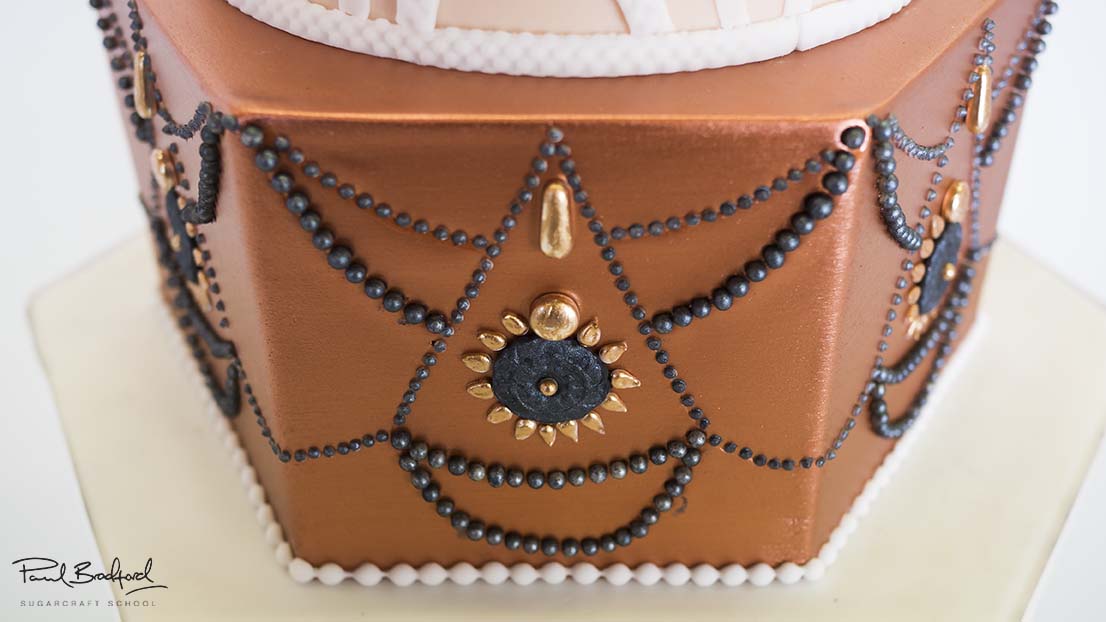
Faye starts off by attaching the template and then engraving the design into the soft sugarpaste with same tool as earlier. She then uses a flower mould and some black sugarpaste to create the centre decoration on each face of the bottom tier. Now it’s onto adding the edible pearls with a little edible glue. Just follow the lines and you’ll be amazed by the dramatic look the black pearls give.
11. Continuing with the bottom tier
In this lesson, Faye goes onto add some lovely piped dots following the lines and then all brought together with some lovely interesting pearls.
12. Covering the board
Faye show us a clever and easy way to cover the board, and then adds a pretty satin white ribbon using a glue stick.
13. The finishing touches
Faye starts by adding the rest of the beaded trim to the top and bottom tier. She then finishes the cake by adding some lustre dust highlighting the piped work on the bottom tier.
14. Other ideas
Here Faye shares some other ideas you can try out when making this cake. We’re sure you have some of your own great ideas and we’d love to see what you come up with.
Please share your pics with us on our Facebook page as well as Faye’s.
We’d love to see your take on the Rose Quartz Deco Cake – so share your snaps with us on our Facebook page!