Tutorial Preview
Highlights
If you are struggling to find the time to watch each and every lesson then this is the video for you. Here we have selected all the key points and condensed the whole tutorial into 15 minutes…more than enough to get you started!
1. The Rocking Stand Design
In this Paul explains to us how he came up with the rocking stand idea and as well how he is going to put it all together. Templates have been provided in the tools section so all you need to do is print them out, get some wood and then cut around them. If you aren’t confident cutting shapes from wood then you can always go to your local hardware store where they should be able to do this for you.
2. Making the Rocking Stand
Now that we have all the wood cut out it’s time to put it all together. Paul shows us how to do just that using a spade bit drill, dowels and a hot glue gun. It’s messy work but the result is brilliant! Remember and do this away from where you will be preparing the cake as it is not food safe.
3. Finishing the Stand
Paul decides to build up parts of the body using something other than cake which keeps things much simpler as using cake to make the bulge of the stomach could prove quite tricky. Paul uses a nice light and easy to work with substitute which once covered in sugarpaste looks just like cake! Watch to find out what he uses.
4. Carving the Cake
Paul demonstrates carving the body and the head from lovely coconut and lemon cake. Paul is just using what was laying around the kitchen and would usually use chocolate sponge but this will do nicely. Using a long serrated knife he carves the body from the centre of the cake to the edges to get a nice curve and then goes to the head where he cleverly uses cut offs to get the shape. Ganache is great for sticking bits together as well as for covering the cake as you will see. Once it’s carved it’s time to get the crumb coat on and then smooth it down.
5. Covering the Cake Pt 1
In this lesson Paul begins to cover the cake chocolate sugarpaste mixed with a little white sugarpaste to get a nice reindeer tone. Once it has been rolled out and cut to size it’s a case of placing the sugarpaste under the stomach and stretching up and working it round the legs and body.
6. Covering the Cake Pt 2
Now Paul finishes covering the Body by rolling out another large piece of sugarpaste which he rolls over the top of the body this time. Make sure you make up enough sugarpaste to cover the whole body first time around as it’s always difficult to create the same tone twice.
7. Covering the Cake Pt 3
Paul now moves onto covering the head which is a little tricky but a pair of scissors and some water will help! Paul uses the water to help blend the sugarpaste into the neck area with his fingers.
8. Covering the Legs
In this lesson Paul starts to cover the legs which is a little tricky but is more time consuming than it is difficult. Maybe a little bit of edible glue or water would be a good idea to keep the sugarpaste nice and secure to the wood.
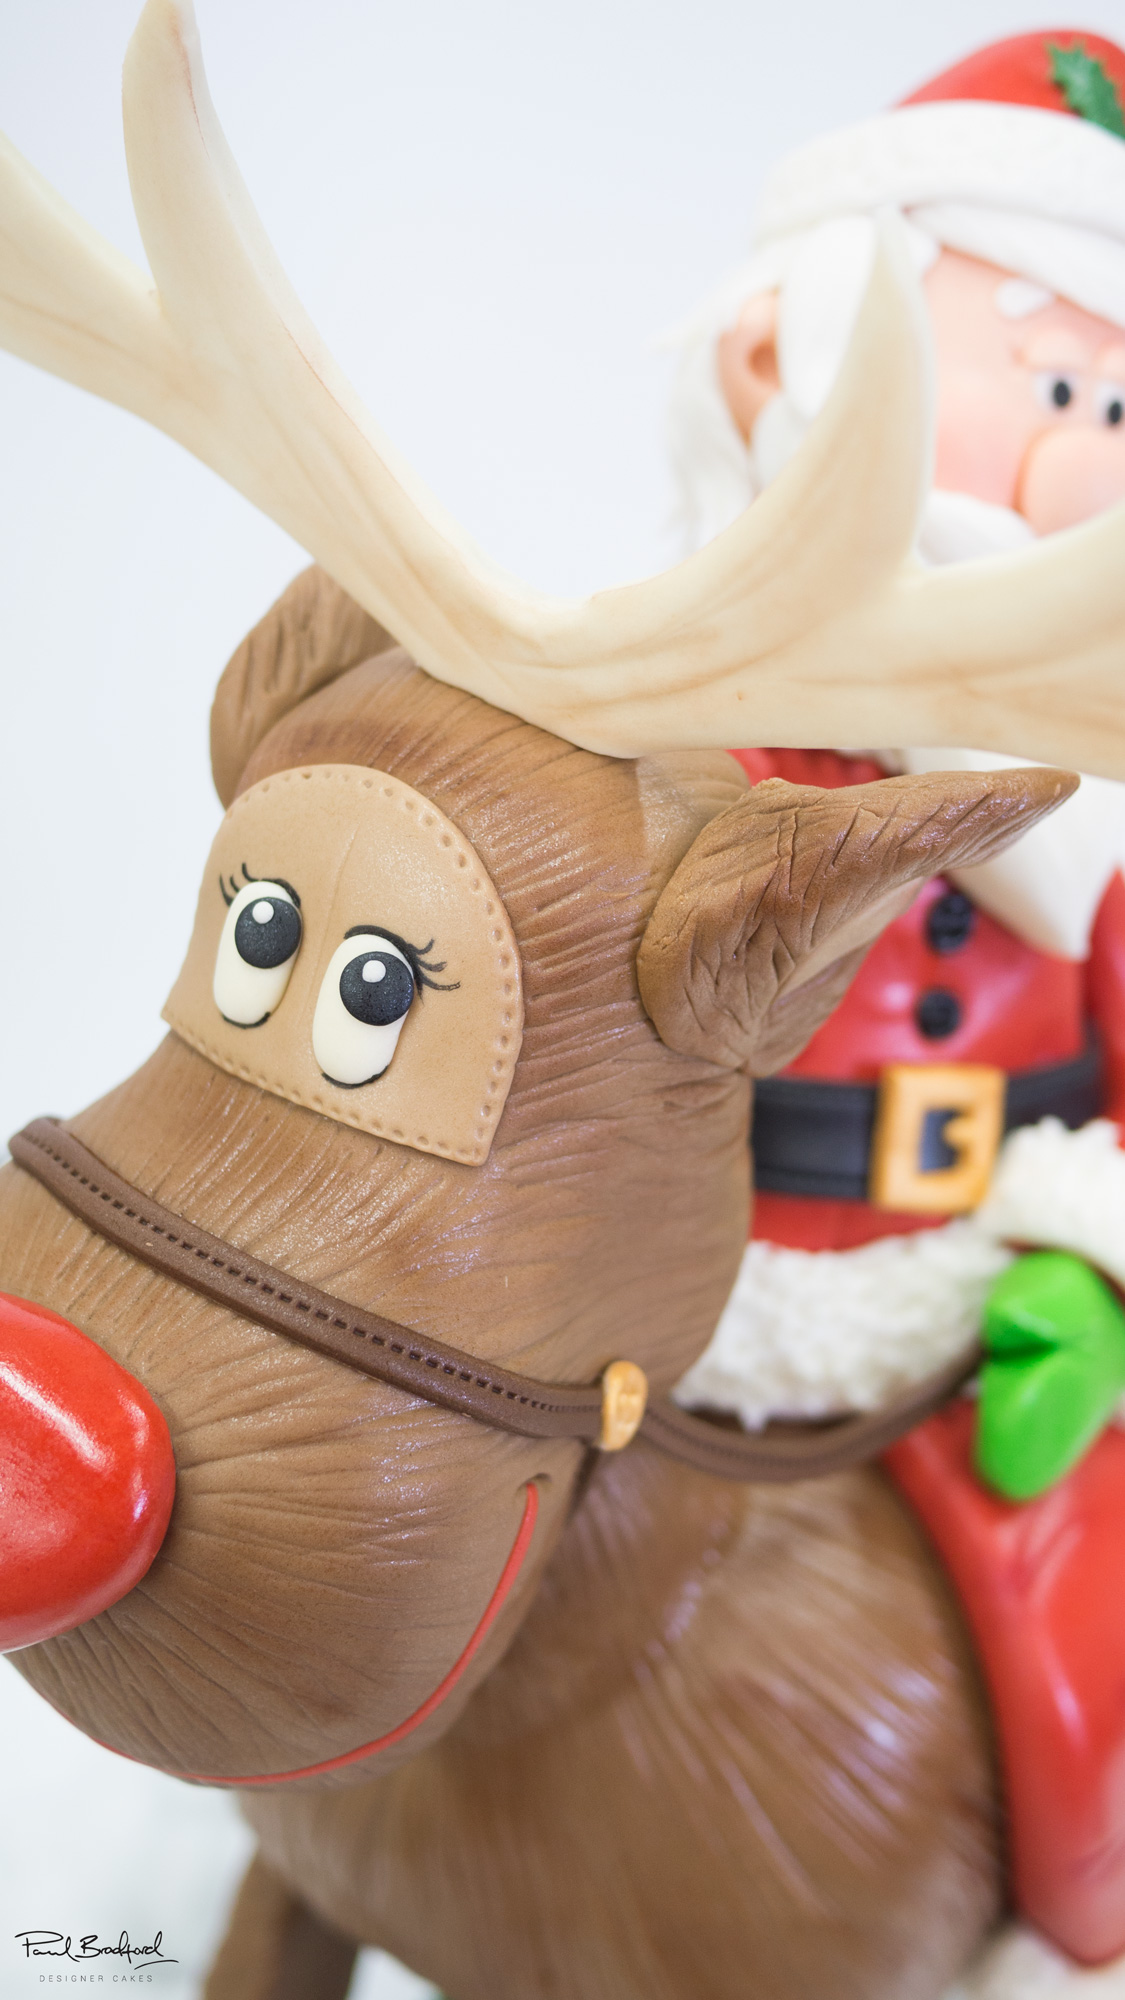
9. Working on Rudolph’s Face
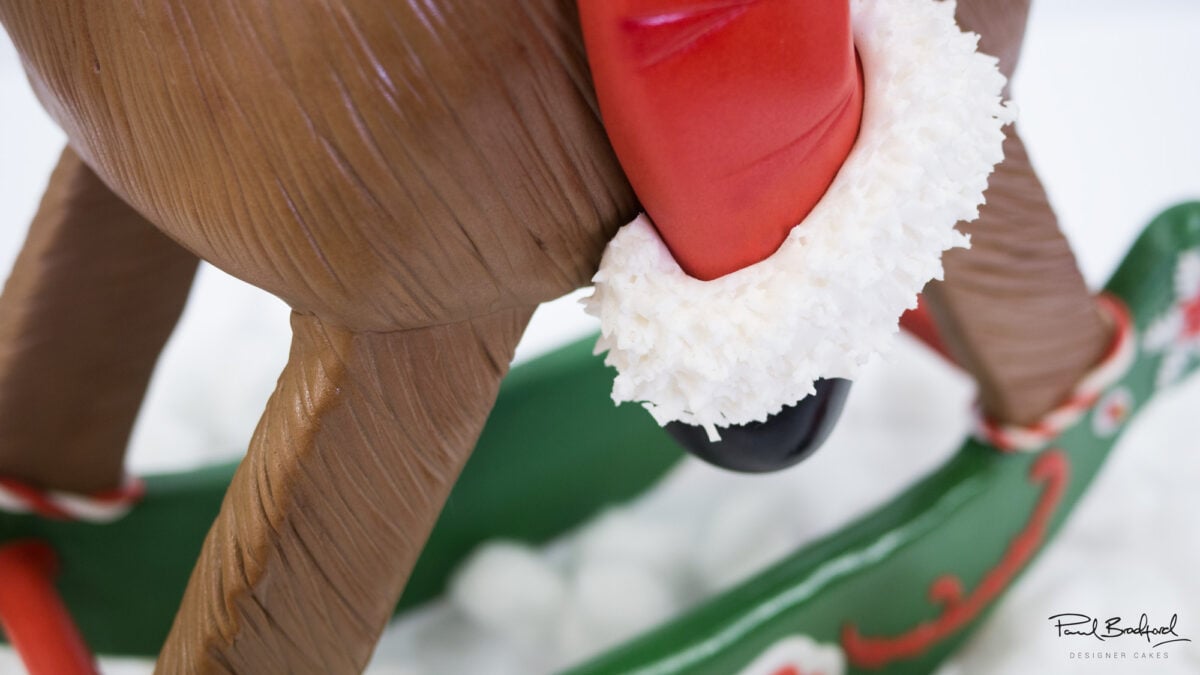
Paul now moves onto adding some facial features to Rudolph’s face! Paul begins by adding the eyes and starts off by adding sockets using a ball tool which he then fills with little pieces of ivory sugarpaste. From here he adds more detail to the eyes with edible licorice black paint and then adds the classic red nose!
10. Adding the Ears and the Tail
In this lesson Paul shows us a quick and easy but very cute way to make ears and secures them on with cocktail sticks and a little water. Paul does advise however that you use edible glue instead as it will guarantee they stay on. Paul then shows us how to texture Rudolph creating hair using a leaf veining tool and then adds the tail.
11. Adding Santa’s Legs
Now that Rudolph has been textured and is looking cute and furry it’s time to add the legs. Paul suggests leaving it to firm up perhaps overnight before moving on to the next stages as it will be less likely to mark or damage.
12. Adding Santa Pt 1
So we’ve added Santa’s legs doesn’t have any feet or a body! Paul uses the same cake substitute that was used earlier which again simplifies things and keeps the overall weight down. You could quite easily use cake and it would most likely be fine so it is entirely up to you. Paul also has a clever trick up his sleeve that saves having to use ganache. Paul then shows us another great technique for creating fur texture that you will no doubt use again and again.
13. Adding Santa’s Arms
First of Paul shows us how to make Santa’s belt which really brings his outfit together.Now it’s onto his arms and to do this Paul rolls out two suasages of sugarpaste and then adds sockets to each of them using a cone tool. The arms are then secure with a little edible glue and Paul props one of them up with a toothpick which keeps it up at waist height.
14. Making Santa’s Head
In this lesson Paul shows us how to make the head and again using some great time saving techniques but with great results. You can have fun creating so many different facial expressions just by changing the eyelids and eyebrows.
15. Making Santa’s Head Pt 2
Here Paul shows us how to add some more facial features moving onto the famous big beard and eyebrows and so on. Paul finishes by showing us how to build up the hair in preparation for his hat.
16. Making Santa’s Hat and the Reigns
Paul starts off by making Santa’s hat using a cocktail stick to keep it in place which gives a sense of movement. Then it’s onto making the reigns to go round Rudolph’s Head. Just a little bit of brown sugarpaste, a ribbon cutter and a stitchy tool and you are more than halfway there. Paul recommends adding a strengthening agent to the sugarpaste such as CMC or Tylo as they may snap after a while.
17. Making the Antlers
In this lesson Paul shows us how to create the antlers using paper, cake card and some sugarpaste. There is a template available in the tools section but we would encourage you to try make your own. It’s very simple and you can always use a picture of a reindeer as inspiration.
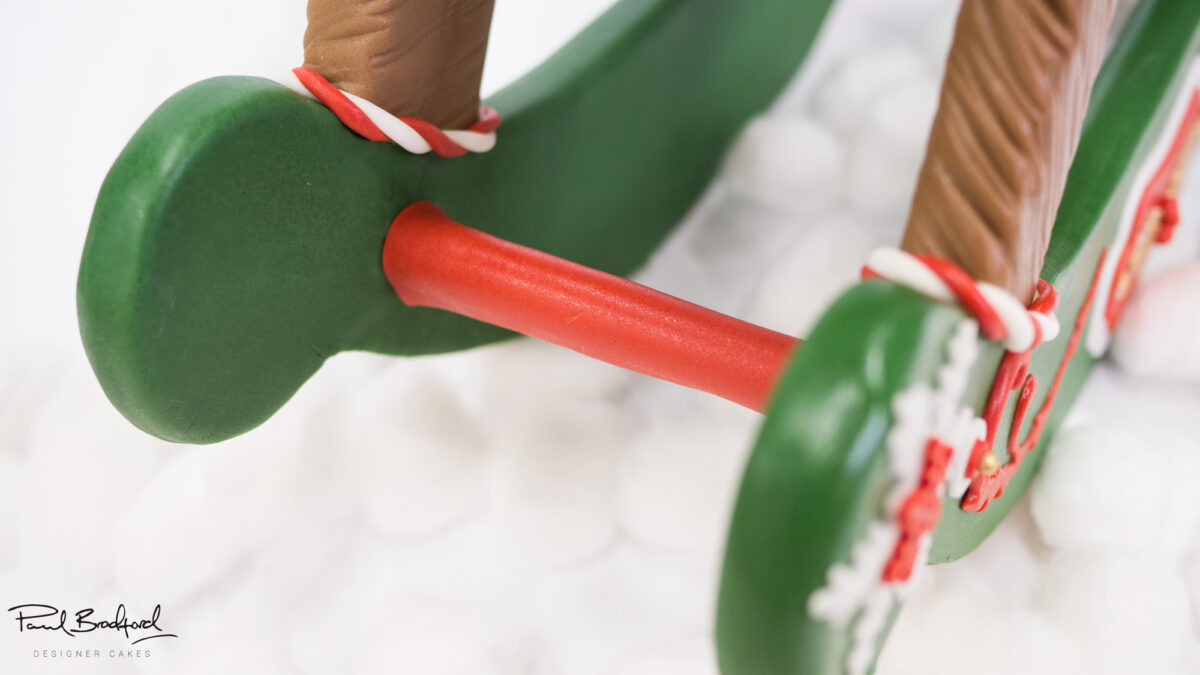
18. Covering the Stand
Paul Starts off by finishing the antlers by marking them with a veining tool and then inserts them into the cake. Now it’s time to start covering the rocking stand which is actually pretty tricky but don’t worry Paul will keep you right.
19. Covering the Stand Pt 2
Paul shows us how to finish covering the stand so we can then move onto decorating it. Remember to wait the wood before covering it even if it’s just with some water. As well make sure that you don’t cover underneath where the stand will rock back and forth.
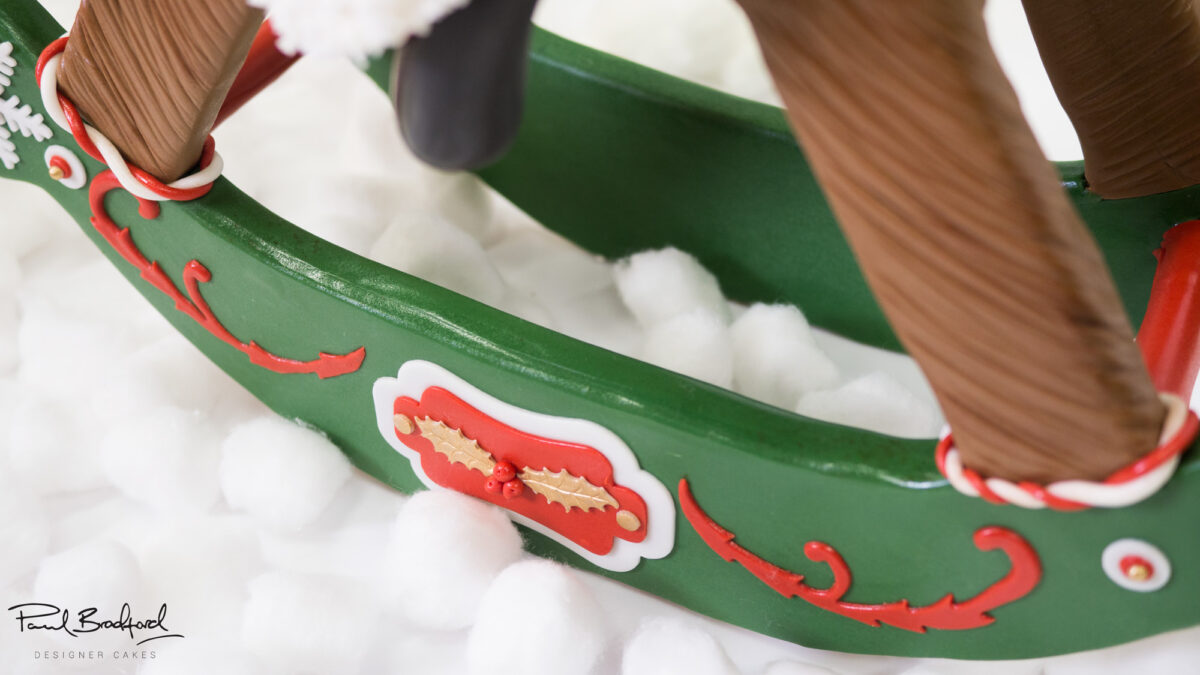
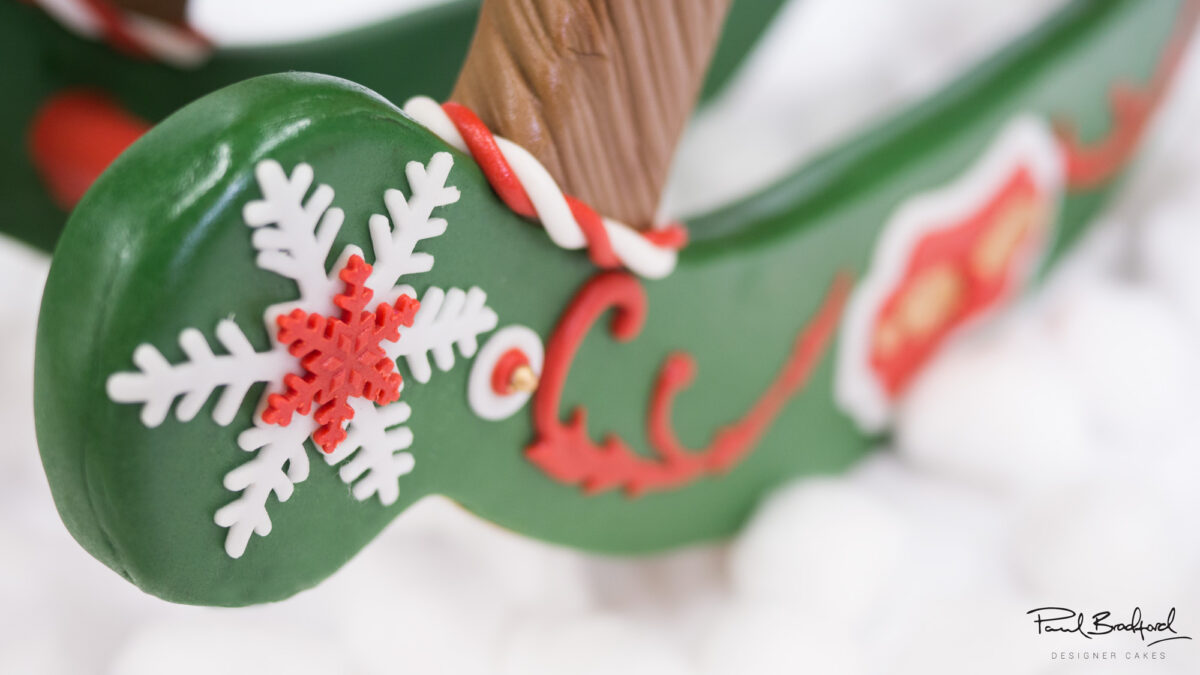
20. Decorating the Stand
Here Paul decorates the rocking stand to get it looking lovely and festive. This really brings the whole design together and looks brilliant. You could do whatever you like here but paul uses a mixture of star plunger cutters, Paul Benson cutters and circle plunger cutters.
21. Finishing Touches
In this final lesson Paul shows us how to finish it all off with a little dusting work and some little extras that make all the difference.
22. Other Ideas
Paul shares some ideas that you can implement when making this cake to make it unique to you. We would love to see your versions of this cake so please share your pictures with us on our Facebook Page!
23. Pro Lesson
Paul gives some insider information for this cake including the cost to make it as well as how you should price the cake when selling it – vital information for any professional cake designer!
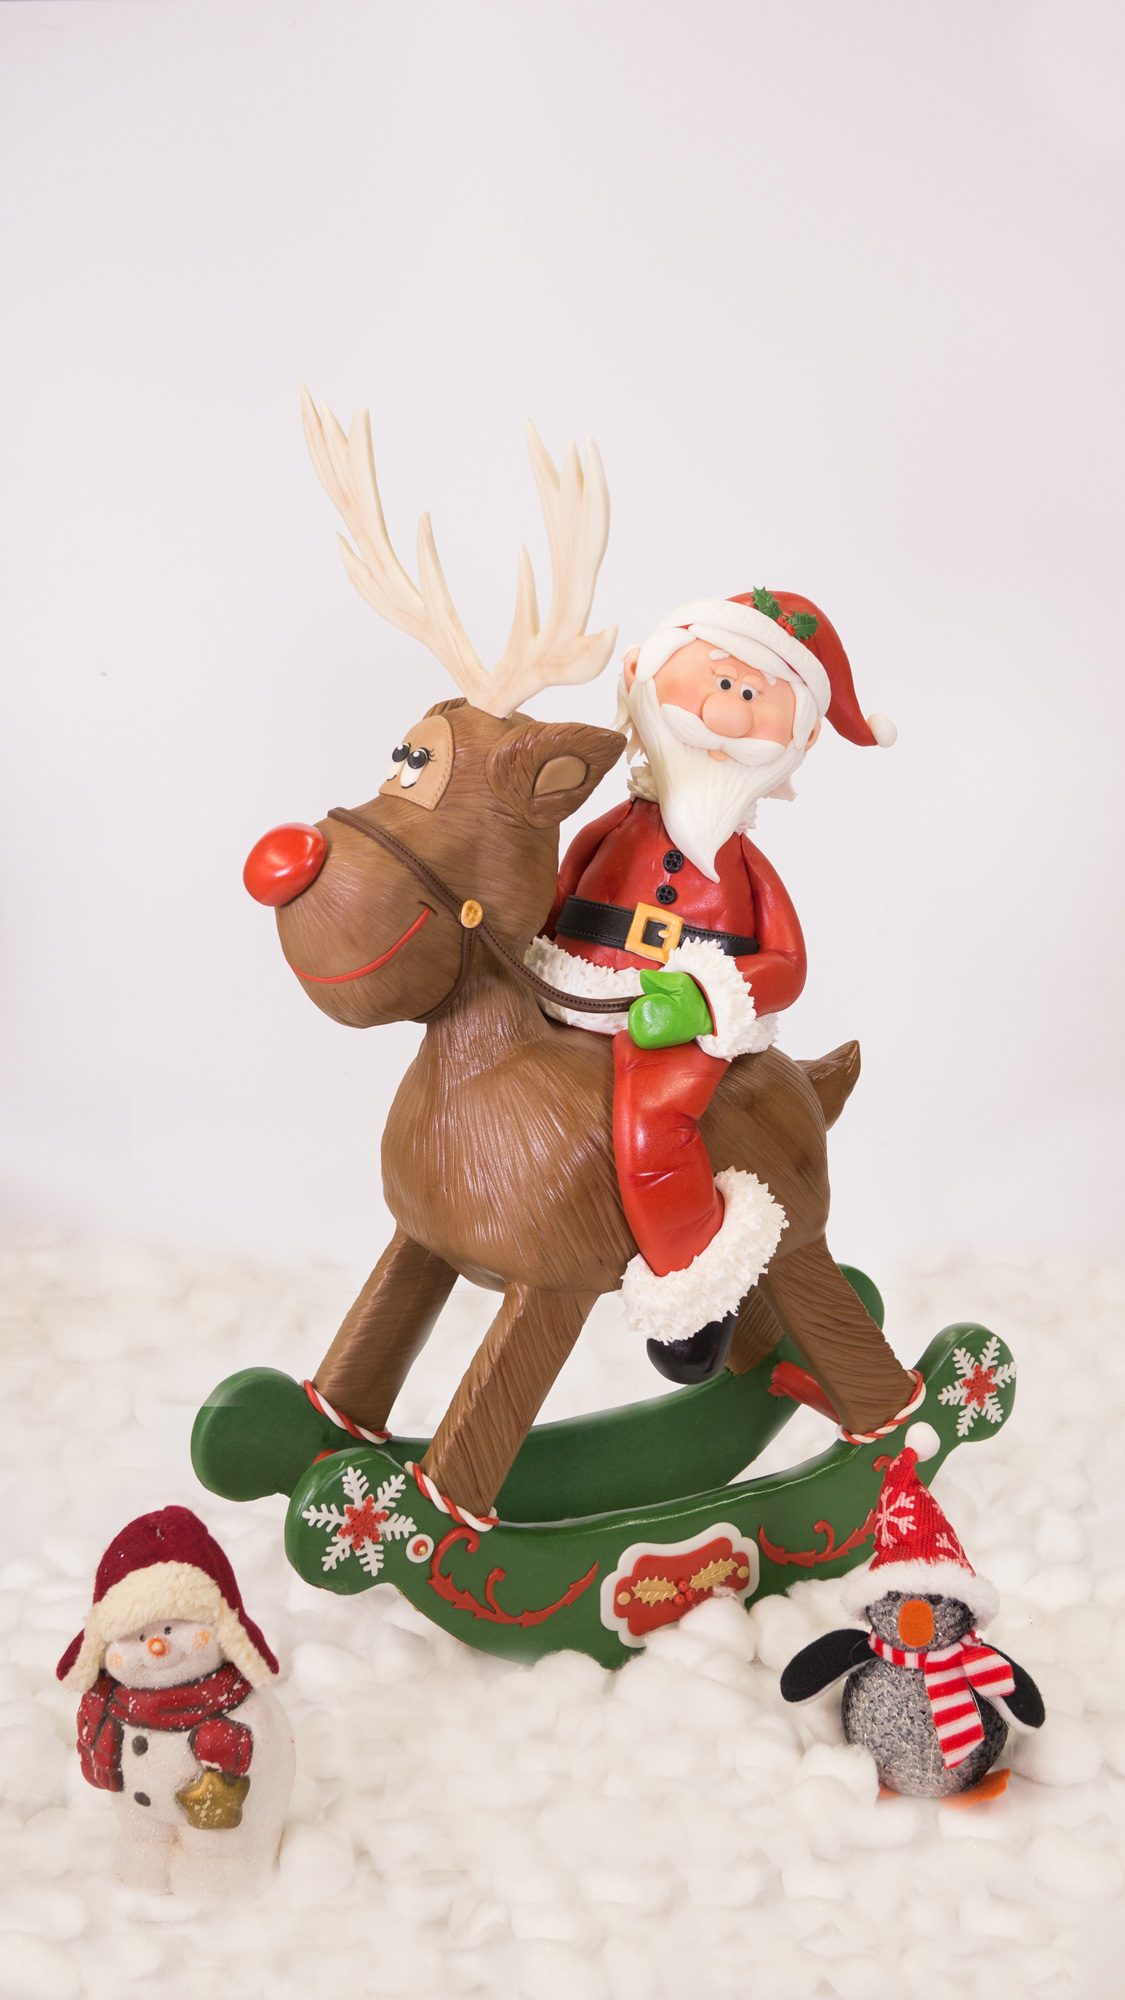
In this tutorial, Paul demonstrates how to make a fully functional rocking stand for the cake – all the templates and step-by-step instructions you will need are provided to guide you through the process. If DIY is not your forte, you can always ask a local carpenter to help you with this part before moving on to the cake decorating which covers numerous techniques including carving, ganaching, modelling, dust work, and texturing. Paul also shows us a fantastic way of building up the bulky parts of cake in the fastest, cheapest and lightest way possible to ensure that the cake stays balanced.
The Rocking Rudolph cake can be adapted to suit a number of occasions, by replacing Rudolph and Santa with an actual horse or any four-legged creature of your choice that is appropriate for the celebration.
We would love to see your version of the Rocking Rudolph Cake – please share your snaps with us on our Facebook Page!