Tutorial Preview
Highlights
Highlights of our old treehouse cake tutorial.
1. Making the stand
Paul puts his DIY skills to the test as he creates the treehouse stand. Paul discovers that the washer that he used to attach the base board was too large for the hole in the second board so has to improvise.
NOTE: Check your washer sizes will fit into the hole below or use Paul’s workaround
2. Creating the tree trunk and branches
You can use rice krispie treats, but Paul opts to create the tree trunk using cake. He adds a couple of branches for good measure using wires and florist tape so you’ll start to see the design coming together.
NOTE: Paul later discovers that he would have preferred to use 4 wires per branch rather than the 2 he uses.
3. Ganaching the cake
Slightly more challenging with all the nooks and crannies on the tree trunk and roots, but the usual ganaching processes here.
4. Making the roof
In this lesson, Paul makes the roof using cut out round cakes then goes on to ganache the roof.
NOTE: Paul creates the roof from cake starting with 3 tiers but later realises that it’s too big. You only need to use 7cm and 9cm round cut outs and make the point using sugarpaste.
5. Trimming the roof
Depending on how you got on in Lesson 4 you may not need this one, but if you want to carve the roof to shape then watch how Paul neatly changes the shape and overall effect of the roof.
6. Covering the tree trunk
You can be sloppy here and get away with it, no need for a very neat finish as Paul shows you how to get a great bark effect free hand after covering the tree trunk.
7. Covering the tree house
In this lesson, Paul covers the tree house by rolling, marking then merging the pieces on the side of the house. He later adds some texture before later adding the colour.
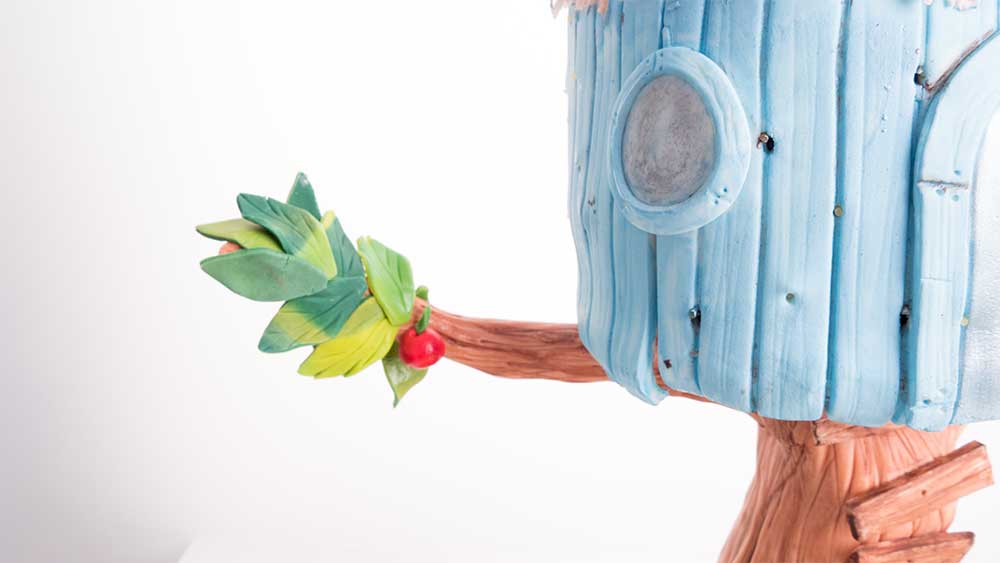
8. Covering the branches
This is where you’ll be glad you used 4 wires per branch as Paul struggles with the weight of the sugarpaste.
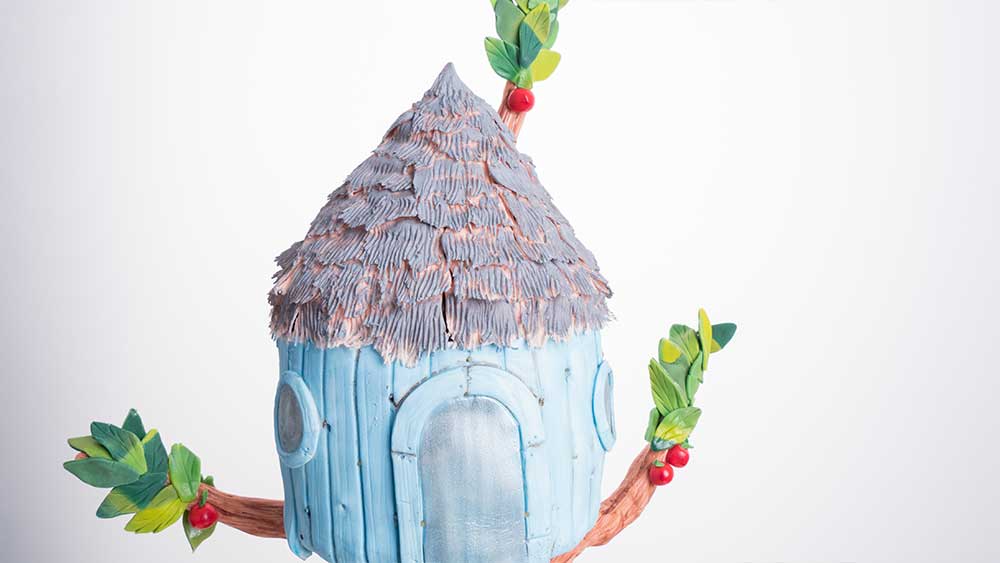
9. Making the thatched roof
In this lesson Paul shows you a great technique for creating the thatched roof.
10. Adding treehouse features
Paul recalls some childhood memories as he prepares the ladders, windows and the door.
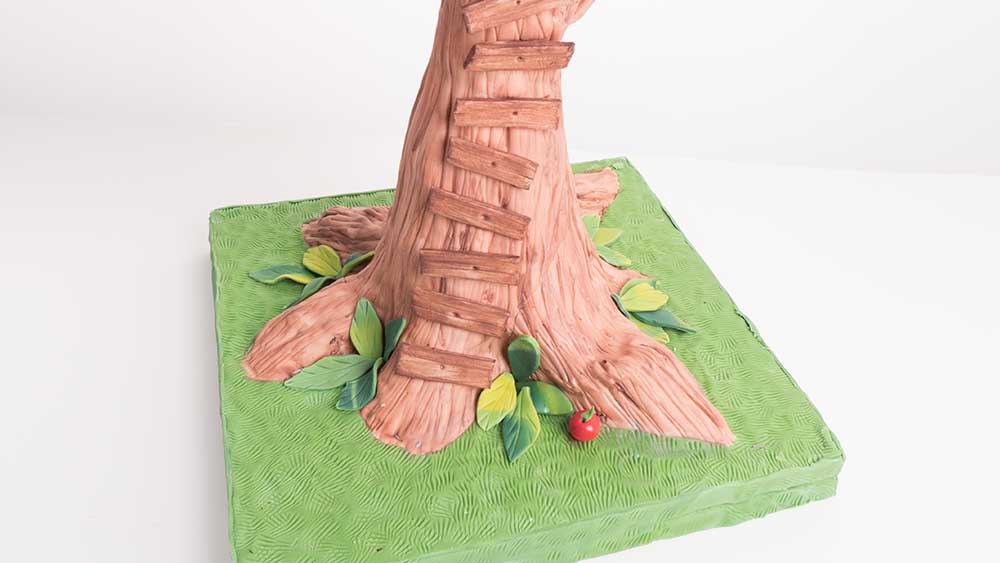
11. Covering the board
The board needs to show the grass effect to show off the treehouse. Paul talks about a number of ways to get the grass effect but he goes for the shell tool effect.
12. Making the leaves
Paul creates a lovely marble effect using a mixture of leave colours. It’s just a case of cutting out the leaves and leaving them to dry on the former.
NOTE: Paul decides to texture only half the 120 leaves he’s made.
13. Adding the 3rd branch
Paul always likes to work in odd numbers for decorations so he had to create a third branch. This of course comes down to personal choice.
NOTE: Paul adds the ladders before realising that it would be far easier to paint the tree first!
14. Painting the tree trunk
Paul experiments with some colours before settling a mix of chocolate brown and white dusts mixed with vodka to help with drying.
15. Painting the roof
Going for a grey roof Paul mixes black and white to get the shade he’s after then gets to work painting.
16. Painting the tree house and ladders
Using one of Paul’s favourite colours periwinkle blue Paul paints the tree house. It’s given him an idea for his own house! He then goes on to shade the ladders and give tone to some of the tree trunk.
17. Colouring the windows and door
It’s your choice, but Paul goes for a satin silver dust to paint the windows and door.
18. Adding the leaves
Paul explains a near disaster when the sides of the tree house started to move. He found a solution so it’s these little hints and tips that help. He then, nervously, starts to add the leaves.
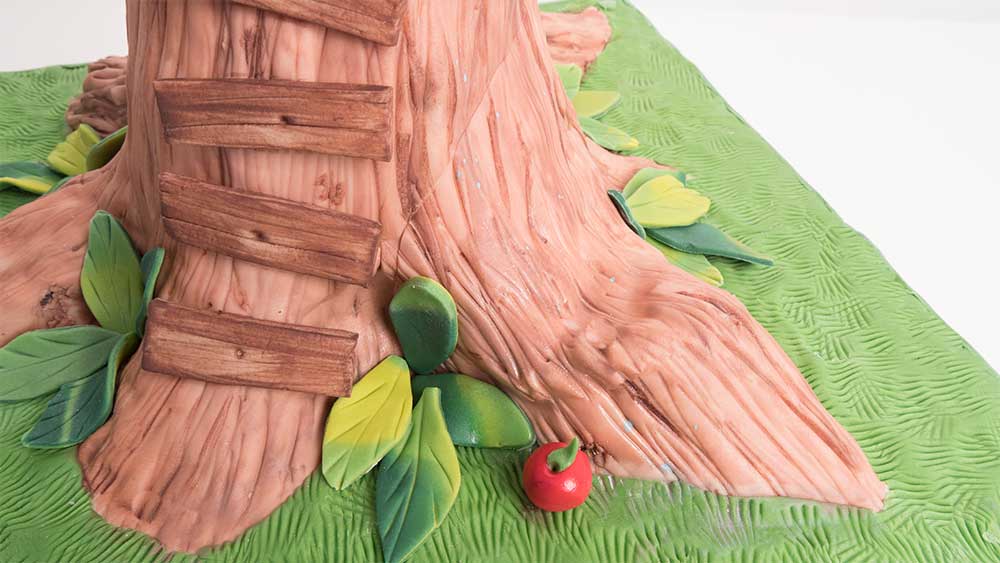
19. Finishing touches
Paul brings it all together by decorating the board, scattering leaves and adding some cute little apples.
20. Other ideas
Paul shares with you some other ideas you can create with this design.
21. Pro lesson
All the important information that a professional cake decorator needs to know for a design like this.
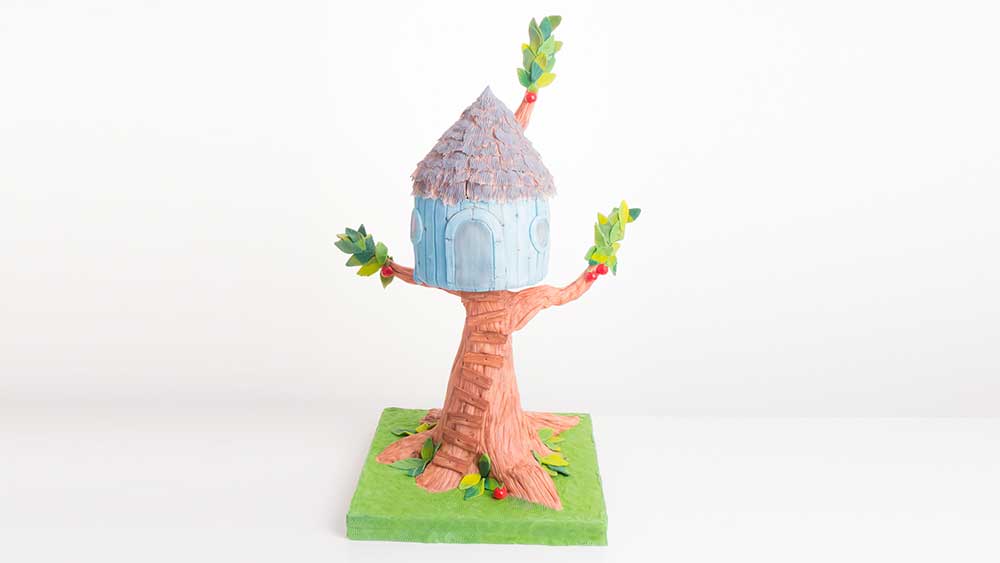
Learn how to make a treehouse cake…
Learn how to make an old treehouse cake with the multi-award winning Paul Bradford. A fantastic and unique design, this cake is sure to catch the eye and can be interpreted in many ways!
In this fun-filled cake tutorial you will learn how to:
- Create a realistic looking (and edible) tree trunk
- Ganache awkward surfaces
- Work with structures
- Create a gravity-defying cake
- and much, much more
Don’t forget to share your interpretations of this wonderful cake with Paul and the rest of the Sugarcraft community on our Facebook group.
Who knows? You may even end up featured in one of our monthly members’ cake showcase.