Tutorial Preview
1. Structure
The wooden structural element of this course covers the creation of the stand which will help develop your skills for many popular cakes using similar methods. The stand is made using wood and mdf and a drill is also used in this section, each dowel holding the top layer measures 3 inches long (7.5cm) and you can find the template for the raised wooden base above, under the Tools tab.
You may find that it’s easier to take your materials to a local handyman/carpenter to have this built for you.
2. Carving the Cake
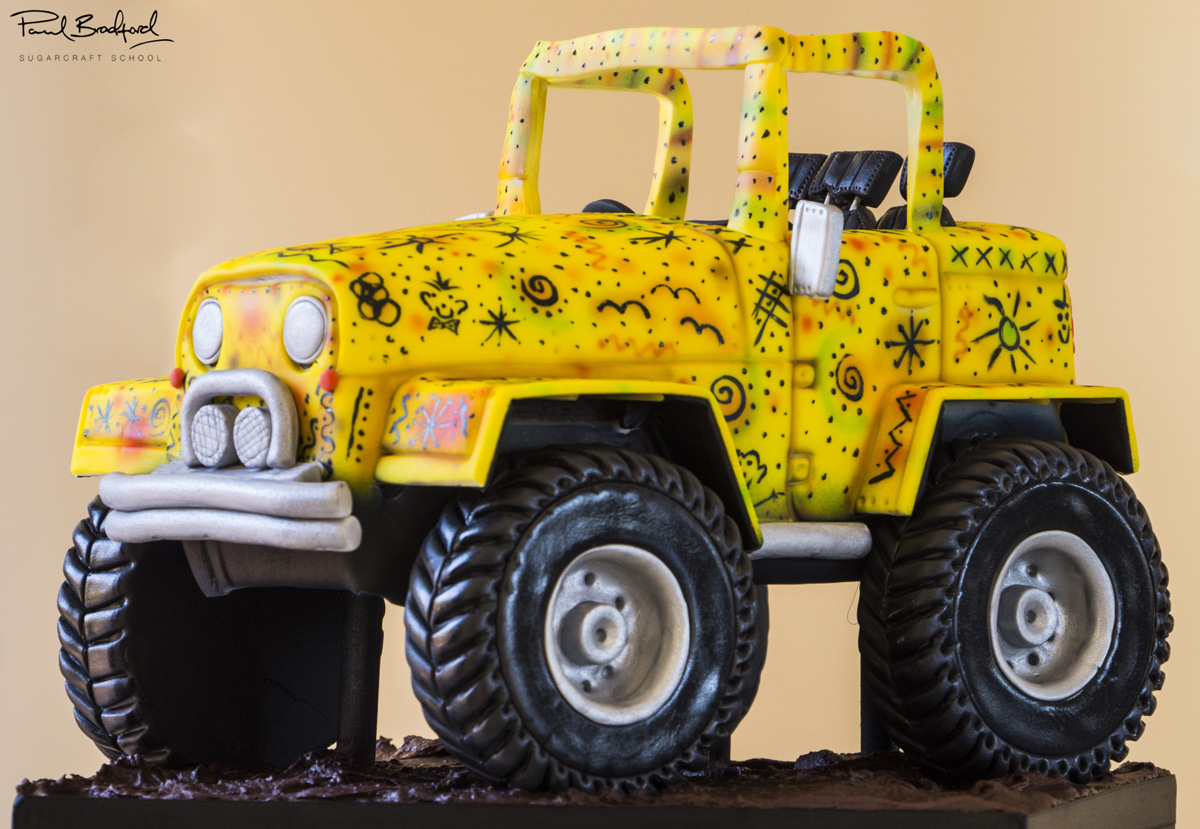
Starting with a 10″ square cake, Paul uses the template as an outline for cutting the jeep shape.
Follow the lesson to create the shape with two layers of cake, this way we’re maximising the amount of the cake used and also achieving the desired height. This can then be carved on top to give a curved finish like the vehicle we’re basing the design on. If the cake is not tall enough, slice more layers to add height.
Tip: Using a toy jeep as a reference will make things much easier!
3. Ganache Part 1
The cake can now be cut to allow a ganache filling in the centre – the ganache is also added to the cake board to keep the cake in place. The cake can now be covered in ganache and Paul makes sure to give it a nice even coat all over. After this, it can be popped in the fridge to cool down if you’re working in a warm environment.
Need a recipe for ganache? See the video here in our beginners courses.
4. Ganache Part 2
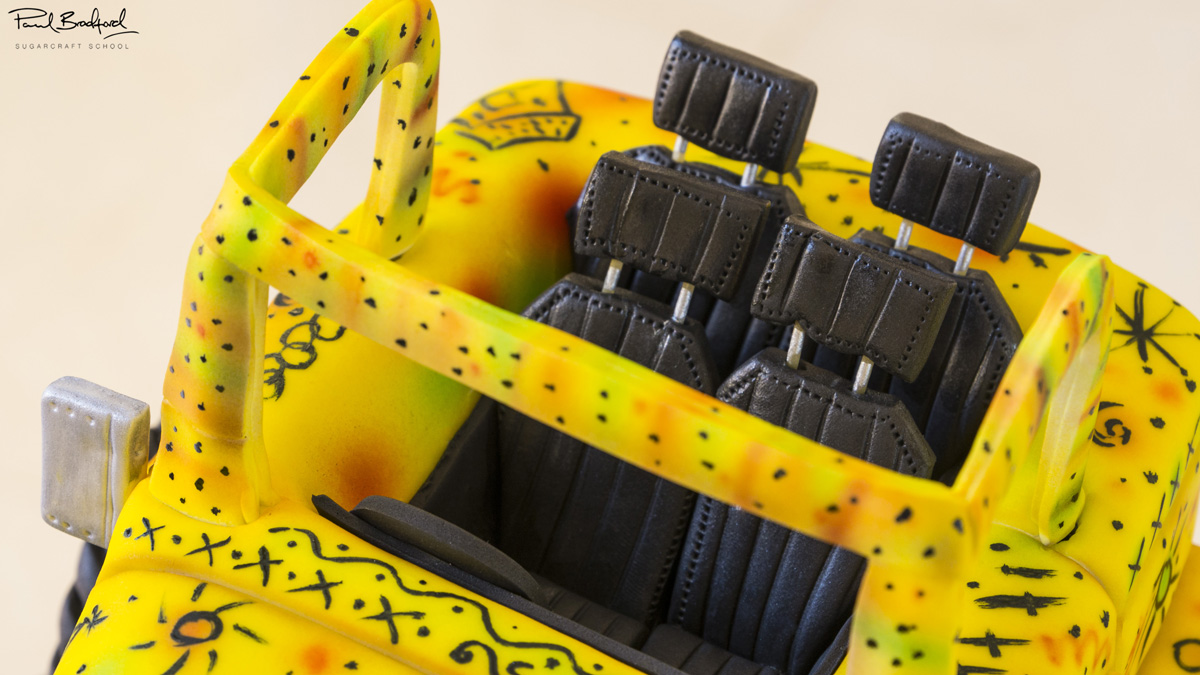
Once the ganache has firmed up in the fridge or a cool environment, use a palette knife (or flat tool of your choice) and hot water to smooth off the ganache. This will help the icing to be applied with a much neater finish. The cockpit of the car also needs to be ganached after a quick trimming off of the overlapping ganache.
Tip: If it’s a warm environment, refrigerate the cake for 10 minutes or so after each ganache stage.
5. Spraying the Legs
6. Sugarpaste
Attach a couple of food bags over the stand to separate this from the sugarpaste during this stage. We start the icing in a white colour (feel free to choose another colour of your choice if you’re not planning on spraying the jeep) after kneading and preparing your sugarpaste, roll this out to size then apply to the cake following Paul’s directions. Try and avoid working in humidity if possible.
When the icing is done, it’s time to add contour lines, bodywork detail and door seams to the Jeep using a dresden tool and a quilting tool.
Tip: If it’s really warm, use a more expensive sugarpaste such as Massa Ticino by Carma.
7. Windscreen
The windscreen for the vehicle is created first by using wires and white florist tape – tape two 20 gauge wires together for strength and wrap with the florist tape. Flower paste is then added to the wire frame.
Tip: The windscreen can be made with flower paste on its own when you start making the cake and attached once everything else is complete.
8. Wheel Arches Part 1
To create the distinct shape of the vehicle, wheel arches need to be created. Follow Paul’s guidance and draw these out on paper or card first as this will ensure they look correct before moving on to cover with sugarpaste (covered in Lesson 9).
Tip: If you want to make these 100% edible then use gumpaste to create the wheel arches – this will have to be done 24 hours in advance to allow them to harden.
9. Wheel Arches Part 2
10. Extra Detail
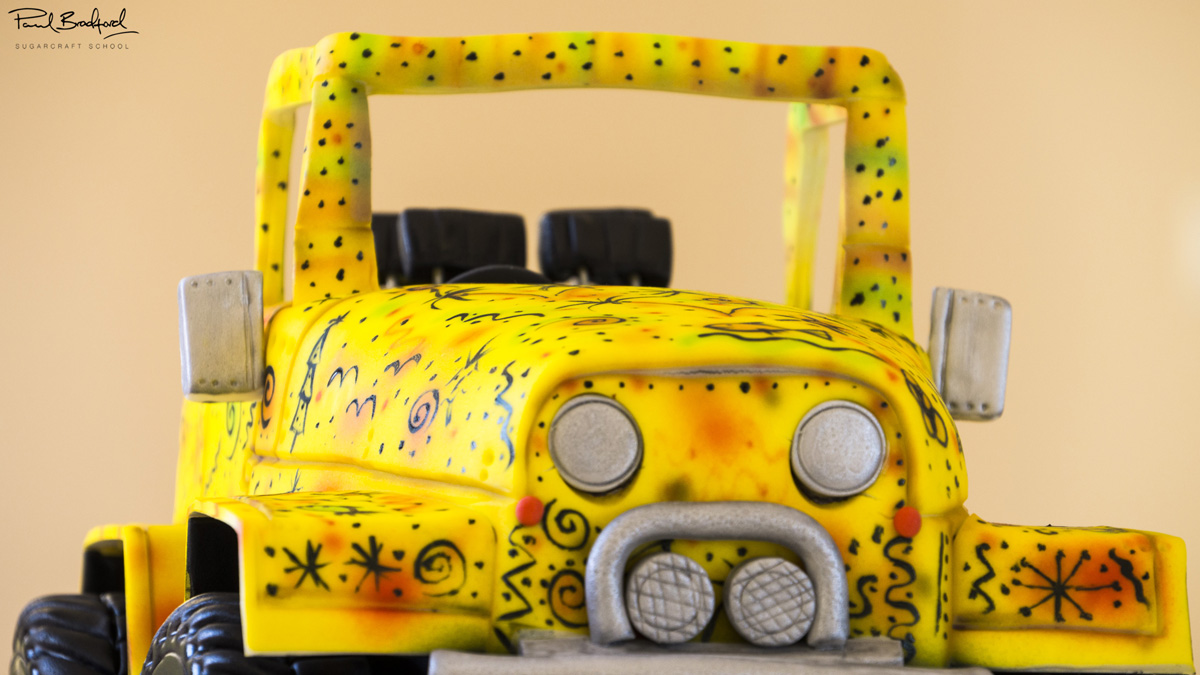
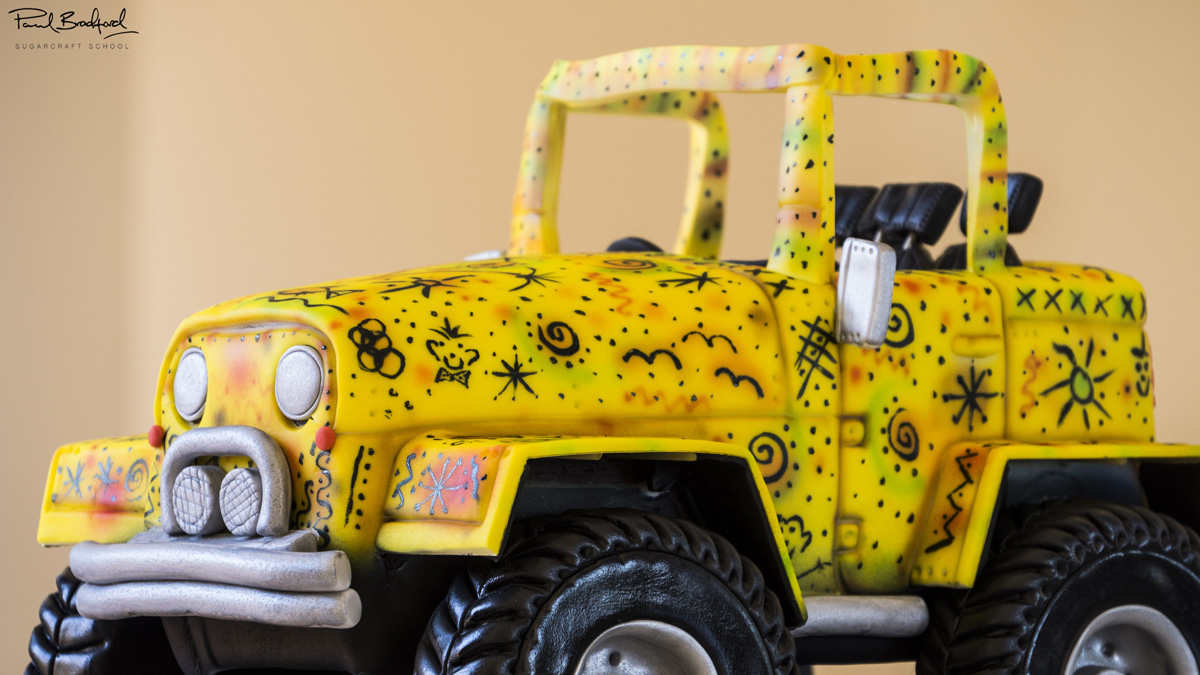
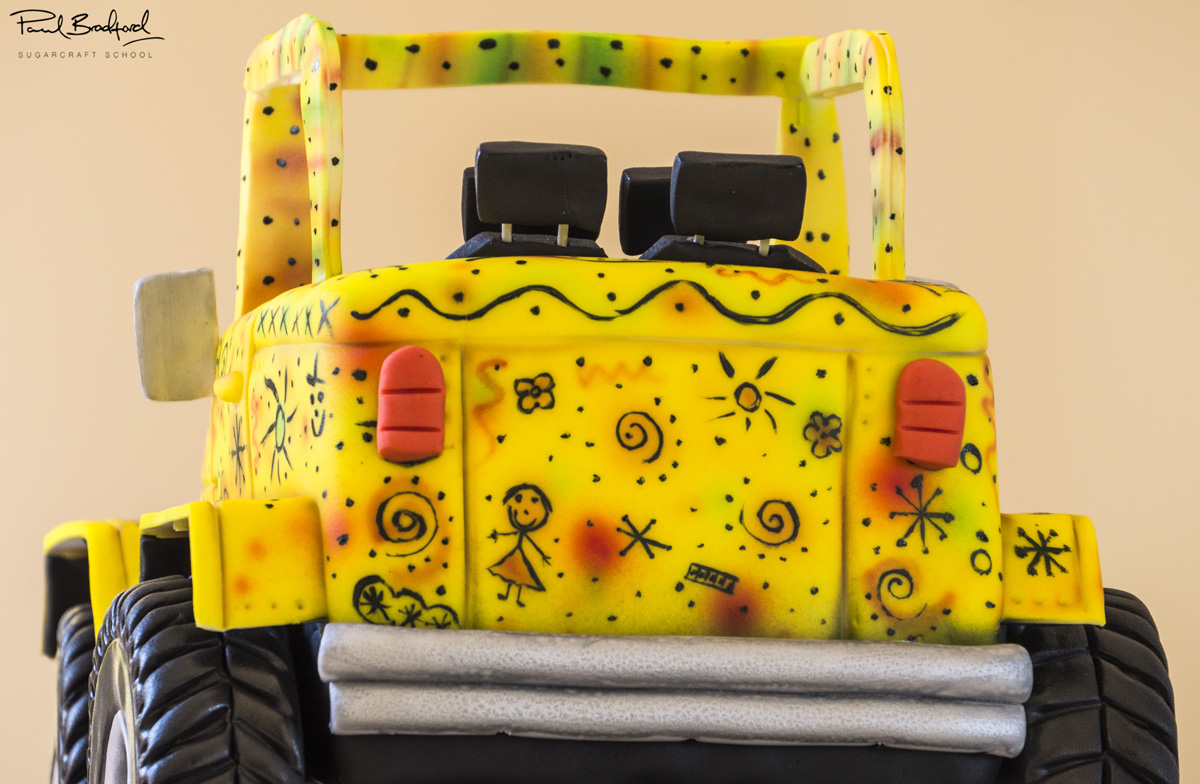
Before airbrushing the jeep, it makes sense to add extra details that will be nicely picked up by the airbrush coat. Paul advises using a tool which we’re comfortable with to add line details and rivets on the Jeep as demonstrated in this lesson.
Tip: Be as creative as you want… the more detail the better!
11. Airbrushing
Paul starts the airbrushing of the cake with an edible yellow undercoat, test this on paper frequently to make sure an even coat is achieved. He recommends we gradually build up the layers until we’re happy with the coverage, leaving the cake to dry while getting some other parts made.
Tip: If you don’t have an airbrush, a similar result can be achieved with edible spray colours.
12. The Tyres Part 1
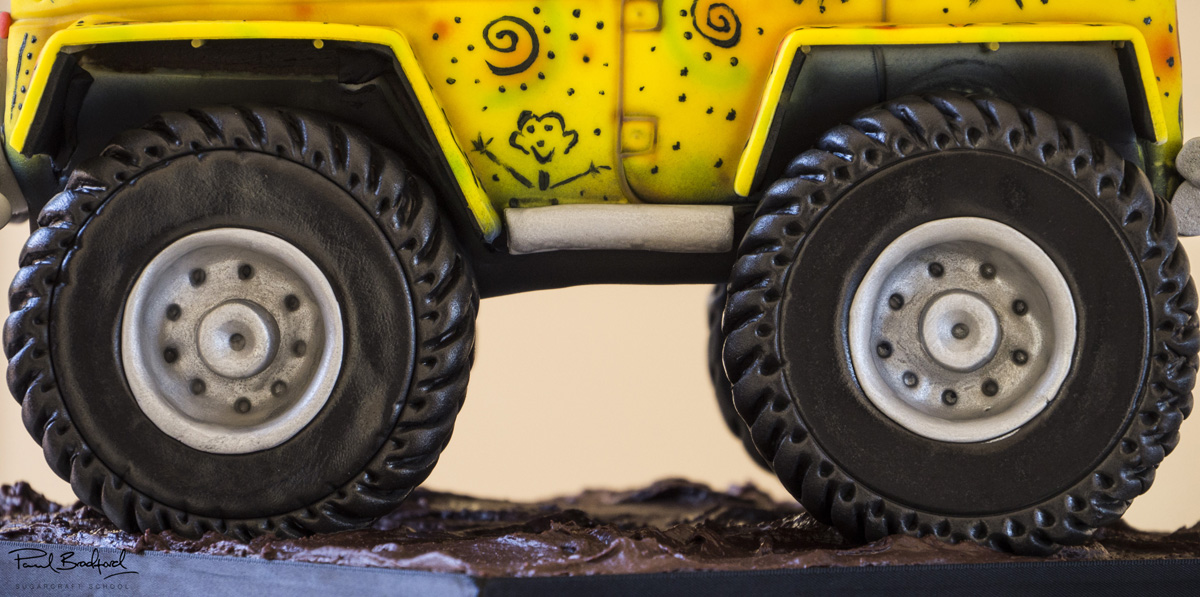
Paul has used modelling chocolate for the tyres in this cake and recommends that Rice Kirspie Treats can be used as an alternative as modelling chocolate can really increase the cost of the cake.
Another idea is to use compacted tin foil in the cutters to make a solid tyre base ready for ganache and icing, certainly a much less expensive option, but of course not edible!
Once you’ve chosen the method that’s best for your budget use a smaller cutter to dig out a smaller circle from the centre of each ‘tyre’ and proceed to ice with black sugarpaste. Details can be added afterwards using tweezers or a tool of your choice and following Paul’s instructions at around 14 minutes in.
13. The Tyres Part 2
14. Bodywork
15. Airbrushing Part 1
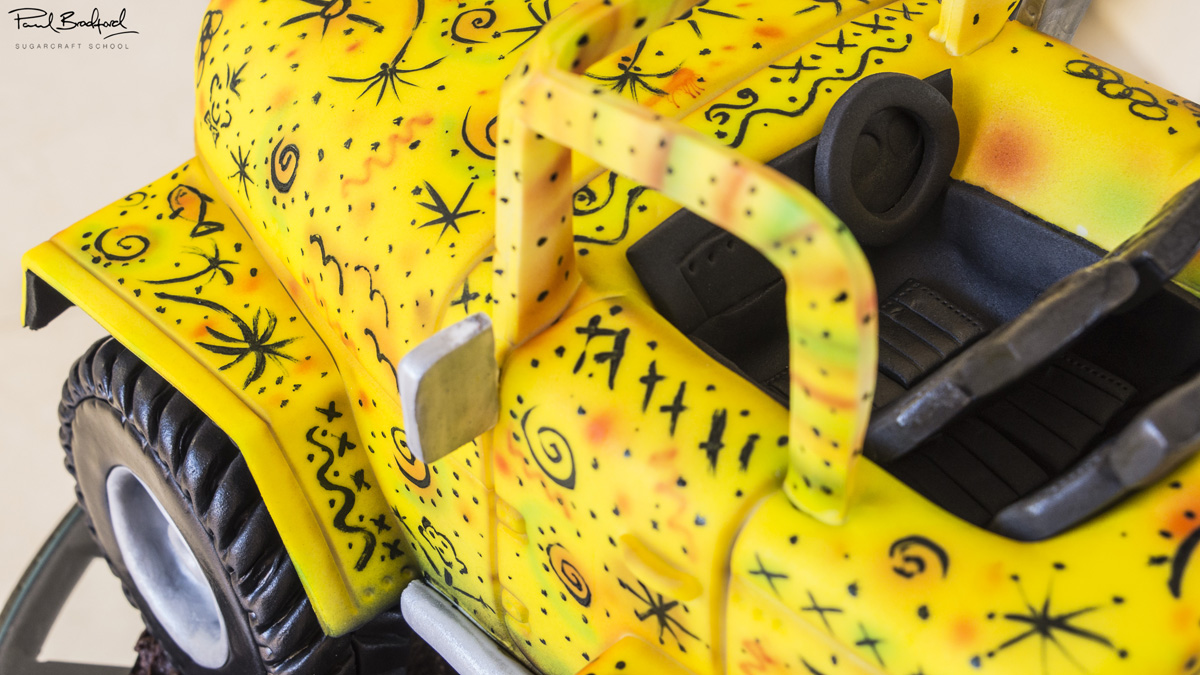
Paul uses a selection of airbrush colours on areas of the jeep to bring the hand painting done in Lesson 14 to a whole other level. Paul recommends highlighting sections of detail and adding a light amount of colour.
Note: This part of the design does require an airbrush.
16. Airbrushing Part 2
Paul continues with the airbrushing, but this time uses darker colours for the underside of the cake and lower parts.
Note: Paul also recommends using a brush and darker colour to paint over the line details.
17. Lights and Grill
18. Seats
19. Paint the Silverwork
Metallic food paint can be used to paint the chrome work of the jeep but make sure to leave the sugarpaste to dry for around 12 hours before doing this. As we don’t always have the luxury of time, one option is to mix Satin Silver with Snowflake (Sugarflair paints are used here) for a similar effect that works great when the sugarpaste is still fresh. Remember to add this to the centre of the wheels too!
Tip: The more coats of the paint, the better the metal will look.
20. Mud
21. Adding the Tyres
We’re almost at the end of the journey! Paul starts by adding some small orange indicator details and rear lights with small pieces of sugarpaste and details these simply with knife lines. The tyres can now be put in place using edible glue on the jeep. The whole cake can be finished off with a clear spray glaze…and the Jeep Cake is complete!
Note: Make sure the wheels are securely attached as they’re quite large!
22. Other Ideas
Paul talks through some other ideas for the Jeep Cake. We hope this has given you an insight into making other raised vehicles using a similar stand, it certainly looks great having the hollow section underneath. We would love to see your take on the cake – please share your photos with us on our Facebook Page!
23. Pro Lesson
Inspired by a rather funky vehicle that Paul spotted on his travels, the vibrant Jeep Cake is a guaranteed hit for birthday boys and girls of all ages! The colours and patterns can easily be adapted to create a personalised cake. This tutorial is recommended for intermediate level cake decorators and takes one day to complete.
We would love to see your take on the Jeep Cake – please share your photos with us on our Facebook Page!