Anna Astashkina is the creator of Bloom Cakery (bloomcakery.com) and she is completely
 self-taught. Anna was born and raised in Russia and after moving to USA 3 years ago, found herself making cakes for friends and family.
Suddenly, what began as a hobby, blossomed into a love affair for exploring new forms and other potentials of sugar (sweet) medium.
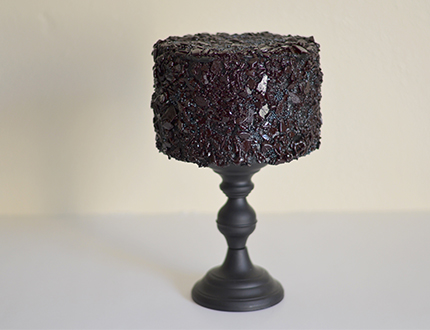
Anna shows us how to create the eye catching isomalt black top tier, a new technique Anna created for The Americas Cake Fair, Orlando, 13 – 15 October 2017.
This is a decorative top tier using a dummy.
Cake facts:
Level: INTERMEDIATE
Time to make: 1 hour
Retail price: $100
Country you live in including area/county – USA, Florida
You will need:
15x10cm (6×4 inch) Styrofoam dummy covered with black fondant
270g cooked Isomalt
Black ‘Artisan Accents’ gel food color
200g black Royal Icing
Black nonpareils
PME glaze spray
Equipment:
Glass or silicone jar for melting Isomalt
Silicone mat or parchment paper
Food safe gloves
Ziploc bags
Hammer or rolling pin
Torch
Tutorial:
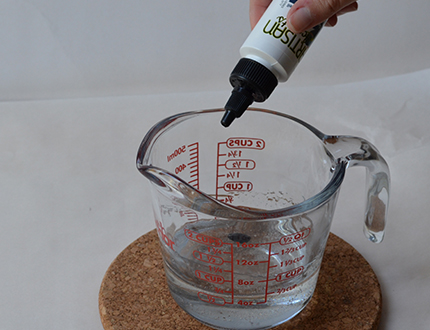
Step 1.
Melt Isomalt in a silicone or glass jar. If using clear – add black gel food colour. Please be careful. Isomalt is hot and can cause serious injury and third-degree burns.
Step 2.
Pour on a silicone mat or paper in a thin layer (about 1-2 mm). Let it cool completely. Work in smaller portions and re-heat Isomalt if it’s hardened.

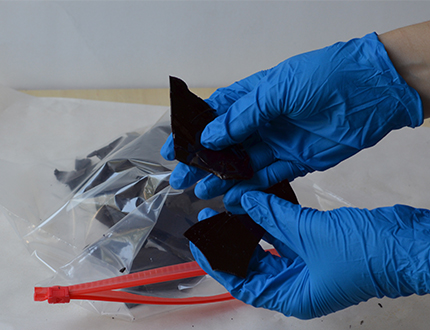
Step 3.
Wear gloves to eliminate fingerprints. Break Isomalt into pieces and put in a Ziploc bag. If Isomalt is sticky – spray with PME glazy spray and let dry.
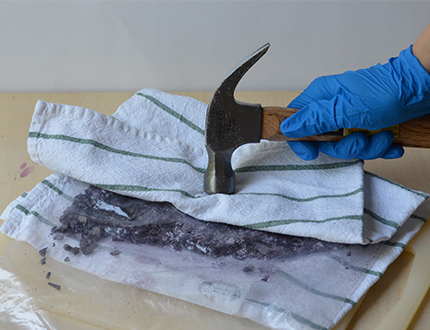
Step 4.
Put Ziploc bag in between layers of kitchen towel and crush Isomalt using a rolling pin or if need be, a hammer.
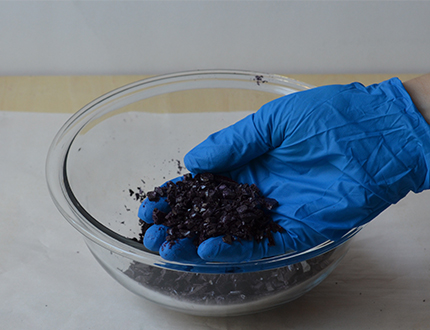
Step 5.
Size should be about rock candy. Transfer to a bowl, if not using immediately – store in an airtight container.
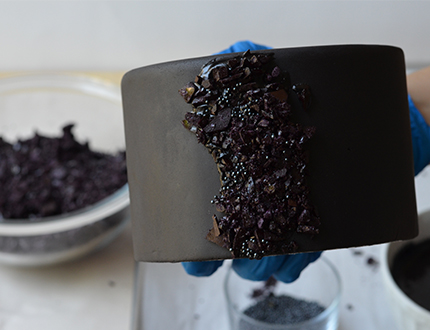
Step 6.
Apply a thick layer of black royal icing and add crushed Isomalt. Try to “scoop” different sizes of Isomalt pieces for the bowl. Work in a smaller section.

Step 7.
While royal icing is still wet, add nonpareils to empty spots to add texture and lightly press down.
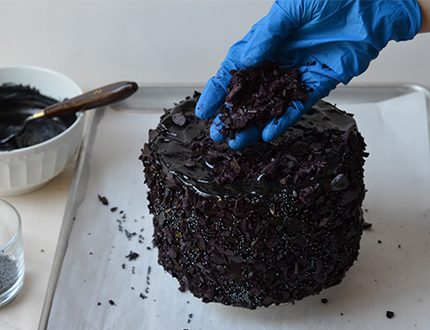
Step 8.
Cover sides first, then add Isomalt and nonpareils same way to the top.
Step 9.
To cover corners, add royal icing with a little overlap with the sides. Add Isomalt and press to form crisp corners.
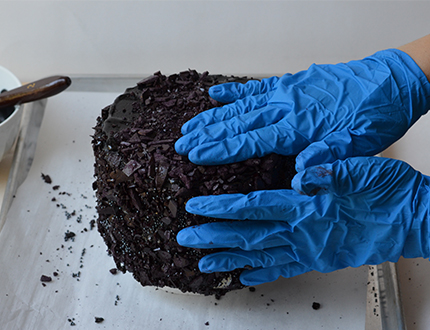
Let it dry completely before moving to the next step.
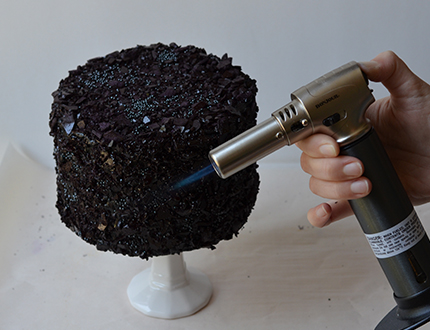
Step 10.
Lightly torch Isomalt to make shards looks “rounder” and to bring back the shine.
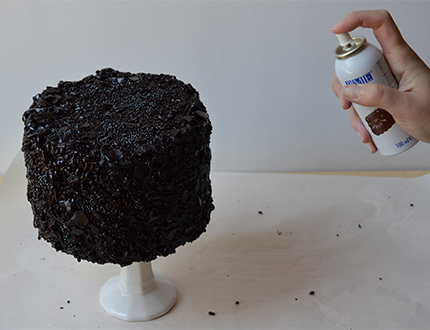
Step 11.
Cover with PME spray glaze to protect from moisture. And you are done!
There you have it, a decorated Black Isomalt cake….