Tutorial Preview
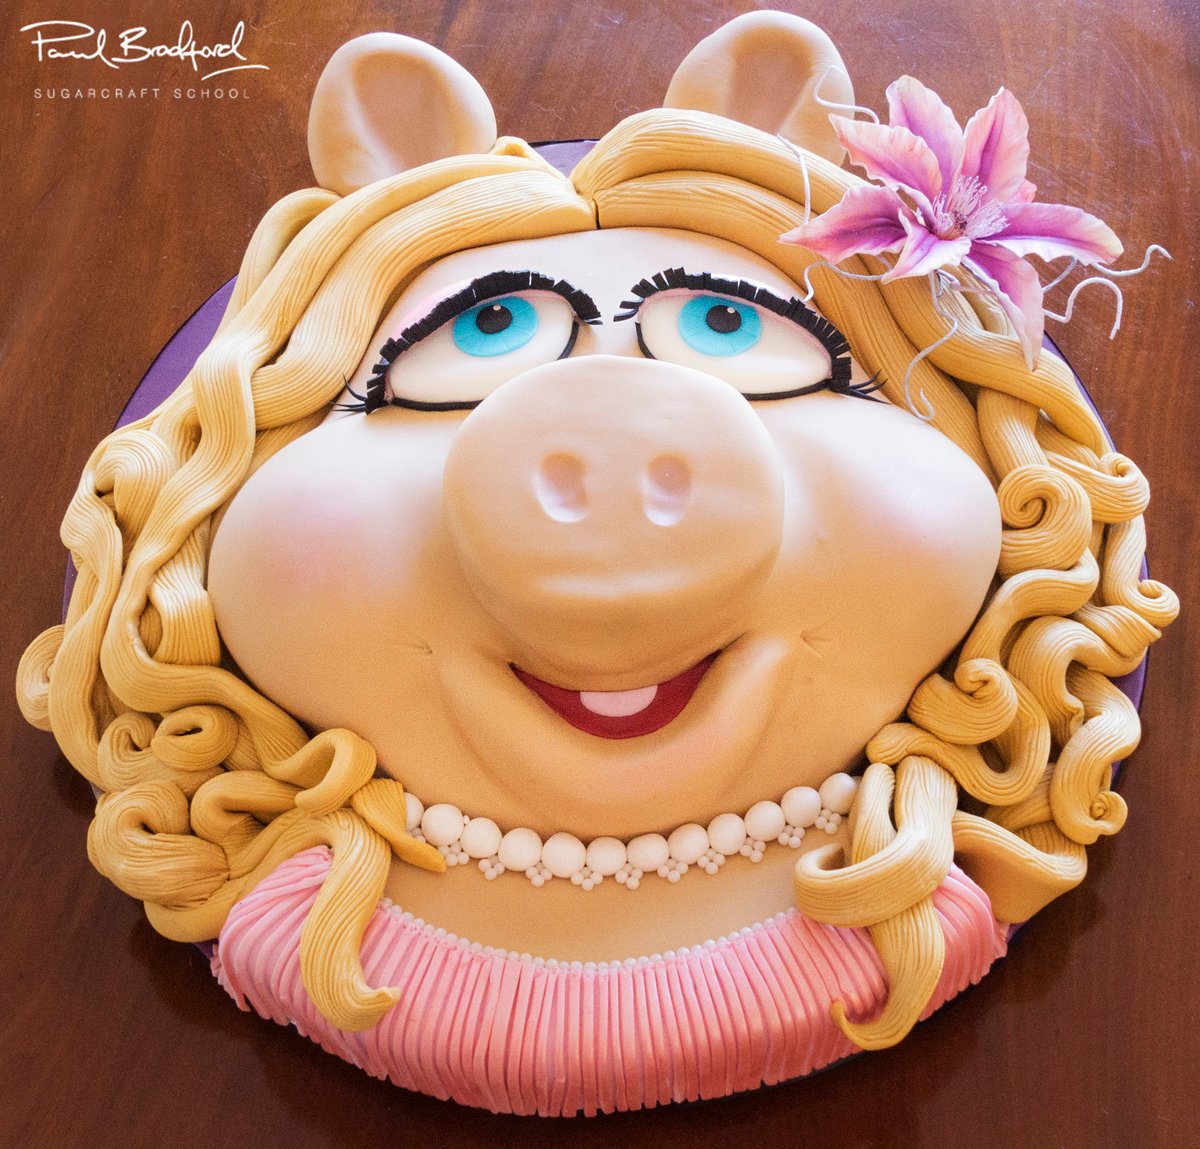
Glamorous Piggy
with Paul Bradford
Skill level:
Easy
HD Lessons:
14
11:42
1. Carving - Part 1
To start the Glamorous Piggy Cake you need a 10″ cake with a 16″ cake drum which will allow space for the hair and extra details on the cake. A 6″ square of rice crispy treats or a 6″ square cake is required for the nose and other details. Follow Paul’s lead on cutting and ganaching the cake without the need for a template at this stage. Refrigerate the cake after this lesson to firm up the ganache.
05:38
2. Carving - Part 2
Once the ganache is firm from refrigeration go over the cake with a palette knife and hot water followed by a pastry brush to neaten the finish ready for icing.
13:05
3. Cheeks and Lips
If you’re happy with the smoothness of the ganache it’s time to ice the cake. Use a 50/50 mix of teddy bear brown sugarpaste and white sugarpaste to produce a great colour to work with as a base tone. Use the sugarpaste to create the underlying cheek and lip shapes then cover with a layer of the same coloured sugarpaste and the shape really comes to life!
Tip: Don’t make the lips too big!
13:41
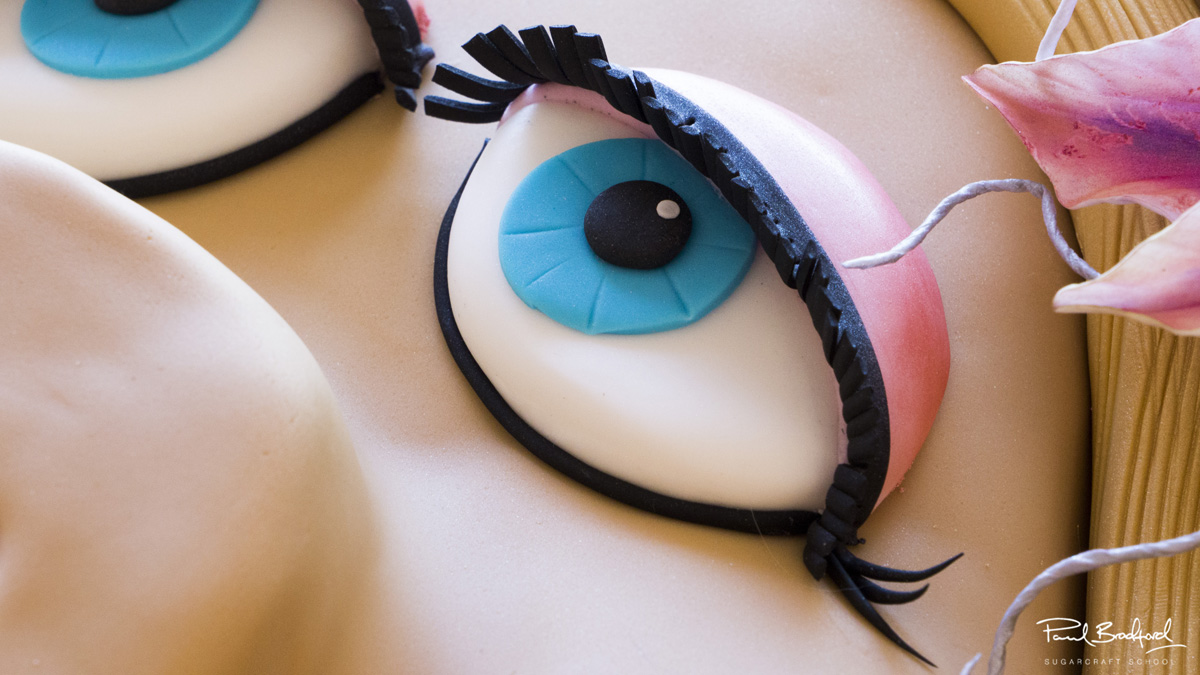
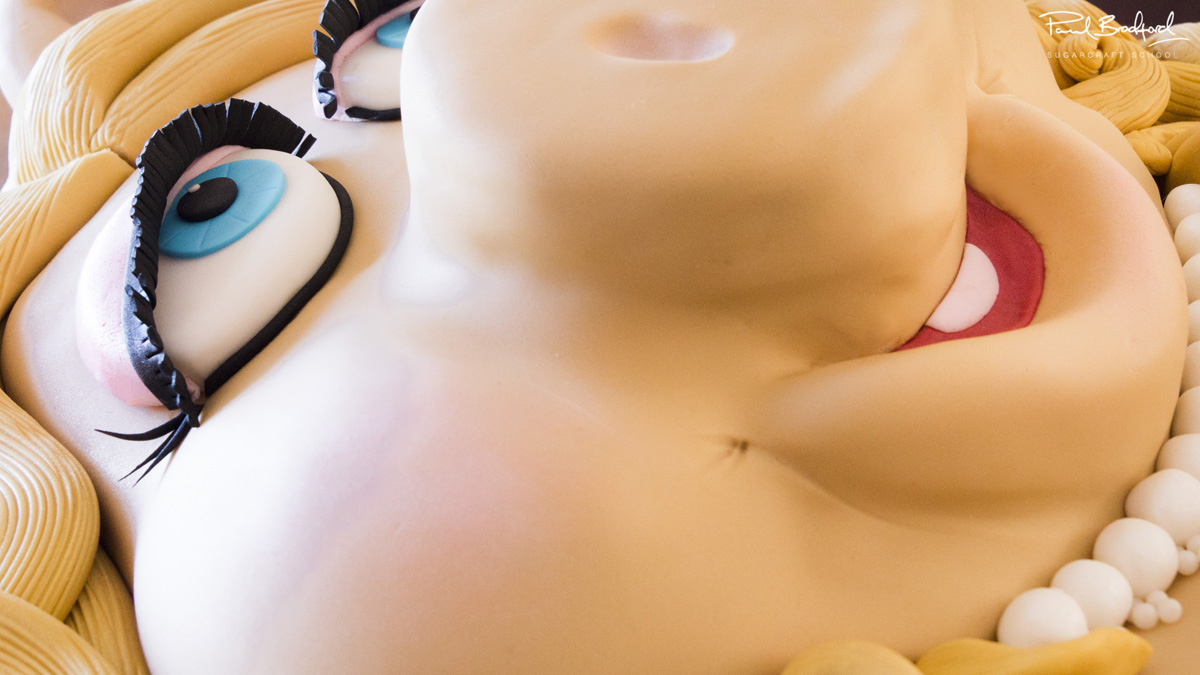
4. The Eyes
The template for the eyes is available at the link above. Cut out and position the eye shapes onto the cake and make sure they look correct before creating them using sugarpaste and cutters as shown.
08:06
5. Eyelashes - Part 1
The eyelashes are created using black flower paste for rigidity, follow the steps in this lesson to create the animated looking lashes. Use a pencil or similar to help curl the eye lashes for the glamorous look!
Tip: Add glitter before attaching the lashes to the eyes.
07:09
6. Eyelashes - Part 2
A tiny white ball of sugarpaste is pressed into the pupil of the eye to add a shine. Pearl blush pink coloured lustre dust is added to the eyes and you’ll soon realise why this is done before adding the eyes to the cake. Paul finishes this section by attaching the eyes and adding extra glamorous details.
07:24
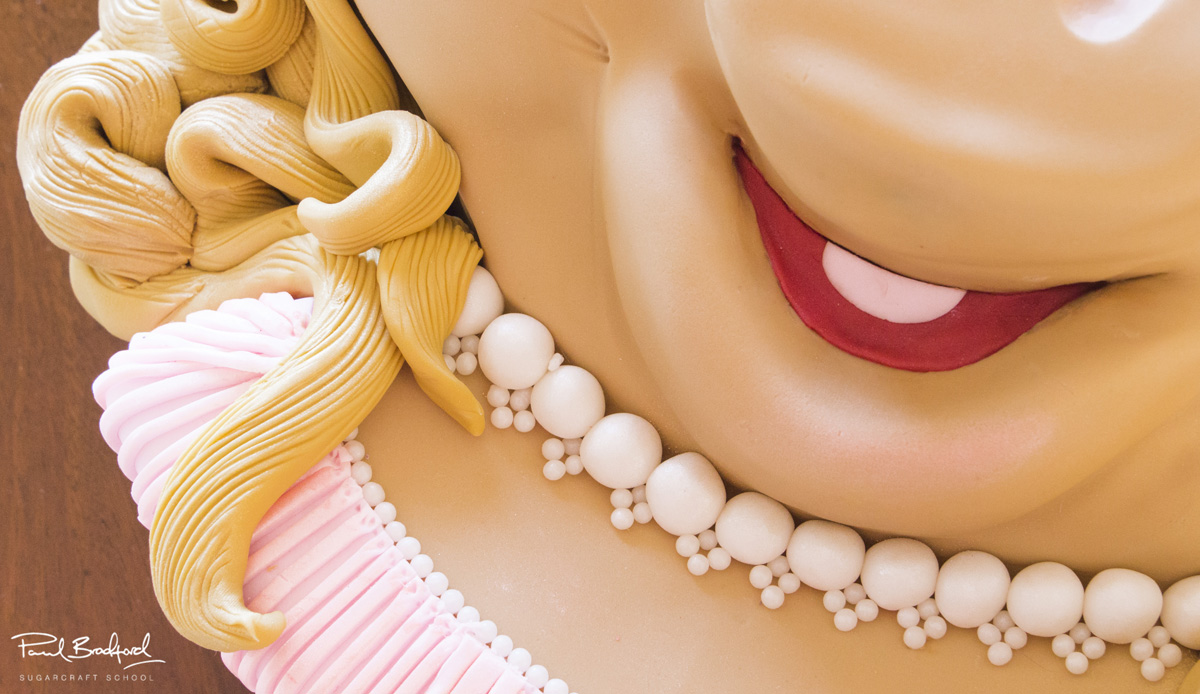
7. The Mouth
The mouth of the cake needs to be coloured in, Paul opts to use a thin piece of sugarpaste for this and cuts it to shape using circular cutters to help achieve a neat curve. A smaller piece of pink sugarpaste is used to create a tongue and everything is smoothed out using a paintbrush to avoid bumps.
Tip: Smooth off the lips while the cake is still fresh, it’s much easier!
12:23
8. Pearls - Part 1
Use a sausage of white sugarpaste to create the pearls ready for the necklace. Paul shows you how to cover the board using a darker shade of sugarpaste to produce a backdrop for the glamorous piggy.
Tip: Be creative with the necklace and change it for something fancier if you prefer!
04:00
9. Pearls - Part 2
The top of the dress is added using strips of pink sugarpaste and topped off with edible pearls. Edible pearls are also used to enhance the look of the pearl necklace by adding clusters of 4 to 5 edible pearls in between each larger sugarpaste pearl.
10:35
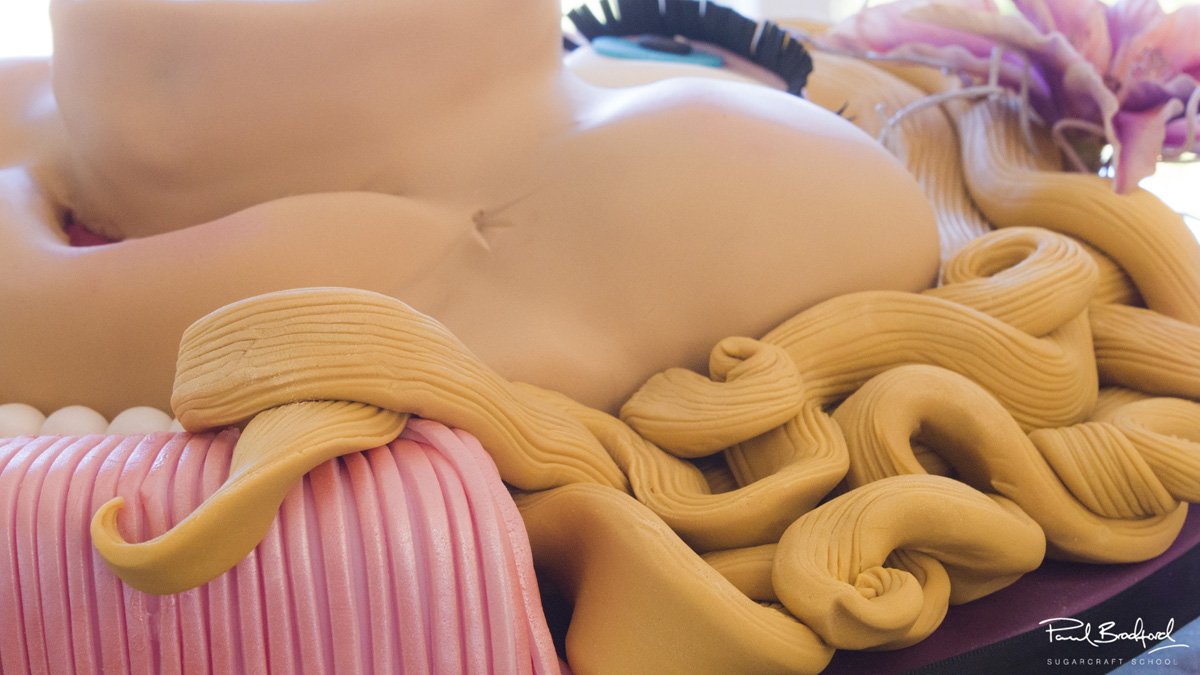
10. The Hair
Using a packet of yellow sugarpaste mixed with the skin colour used for the face, Paul makes a mixed colour which has a golden look for the hair of the glamorous piggy. Roll a large cone shaped strip and use the shell tool to add strands of hair. You’ll need 1kg of sugarpaste for the hair so as an alternative you can use buttercream for the same effect (and it will keep the cost down!)
16:38
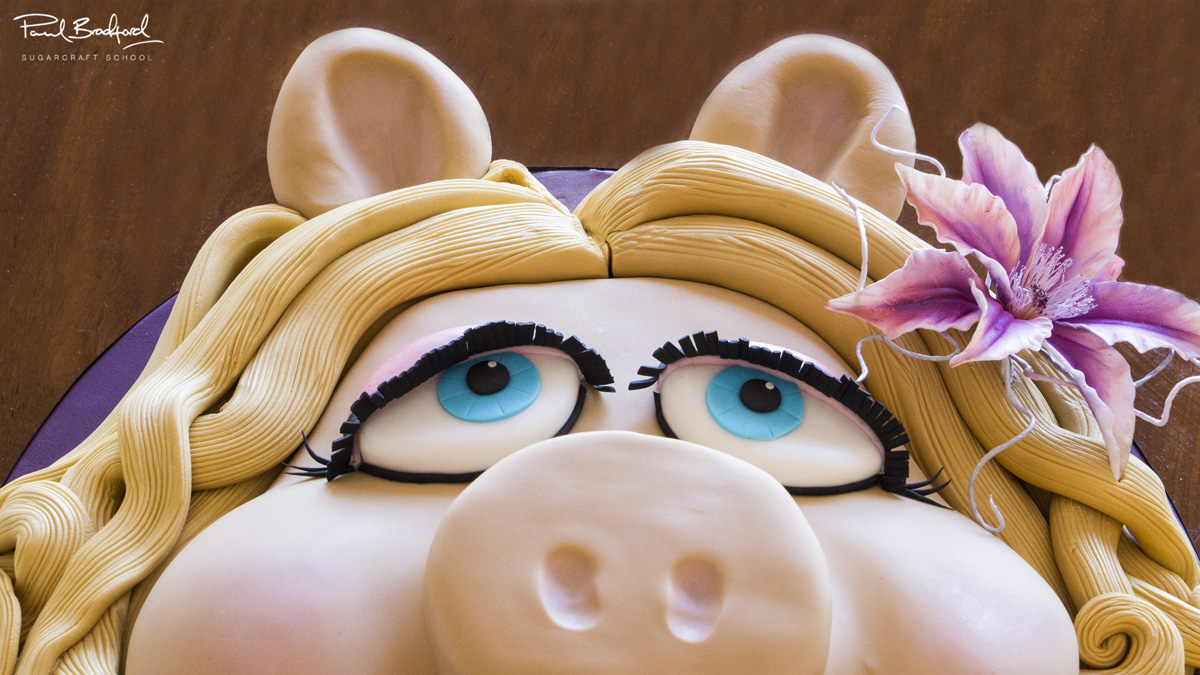
11. The Ears
The final hurdle of the cake and the hair is almost completed. Paul’s also added some smaller pieces of the sugarpaste hair in curls to add some body and extra detail.
The ears of the cake are created using the skin tone sugarpaste, these are attached using spaghetti sticks for support.
Tip: Make sure to use plenty of support for the ears!
09:27
12. Finishing Touches
If you feel like something is missing, add an edible flower to the cake – Paul opted to pinch the Clematis flower from the Nancy wedding cake (you can find this here)
Tip: Remember to make the flower as sparkly as possible!
01:12
13. Other Ideas
Paul covers some other ideas for this cake which include different themes for special occasions.
01:38
14. Pro Lesson
This lesson covers business aspects of this cake including pricing and additional extras.
Taught by Paul Bradford, the Glamorous Piggy is a novelty cake that’s great for beginners to intermediate cake decorators. A sure hit for any girl that wants a fun cake for their birthday or special occasion…who doesn’t?!