Tutorial Preview
1. The Design and Structure
2. Icing the Bottom Cake
3. Adding the Crystals
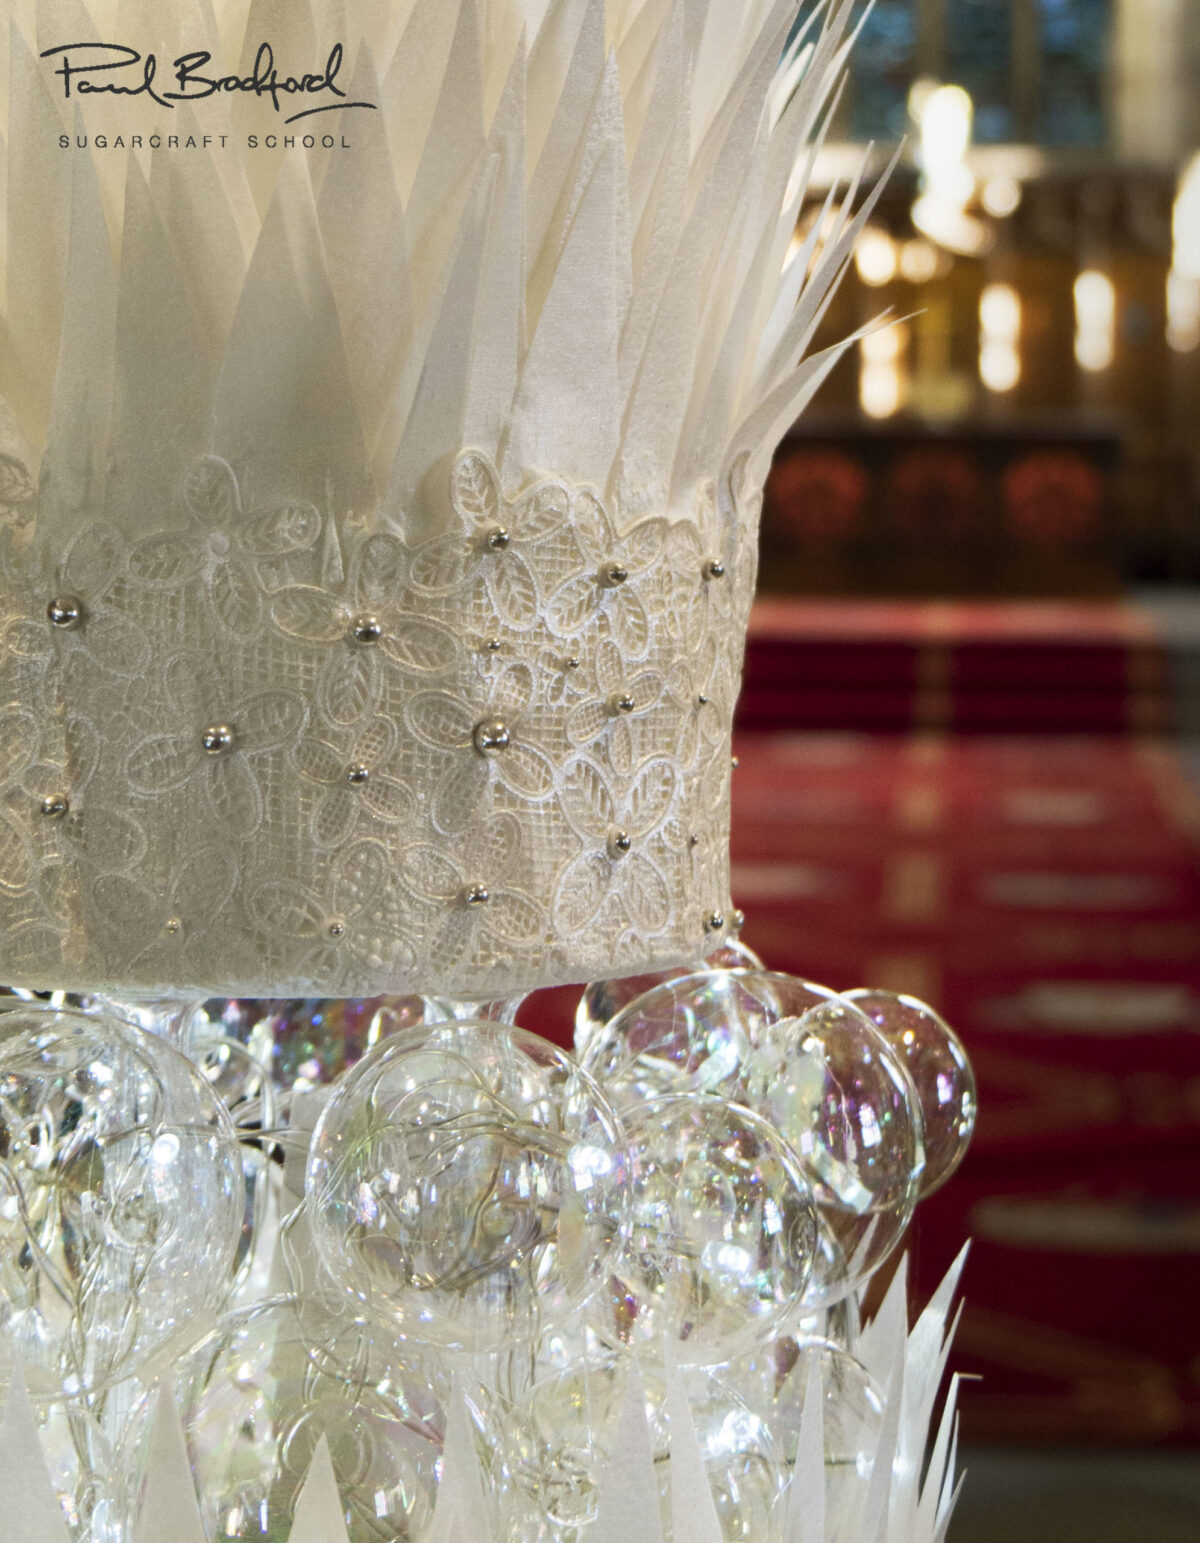
4. Preparing the Cake Lace
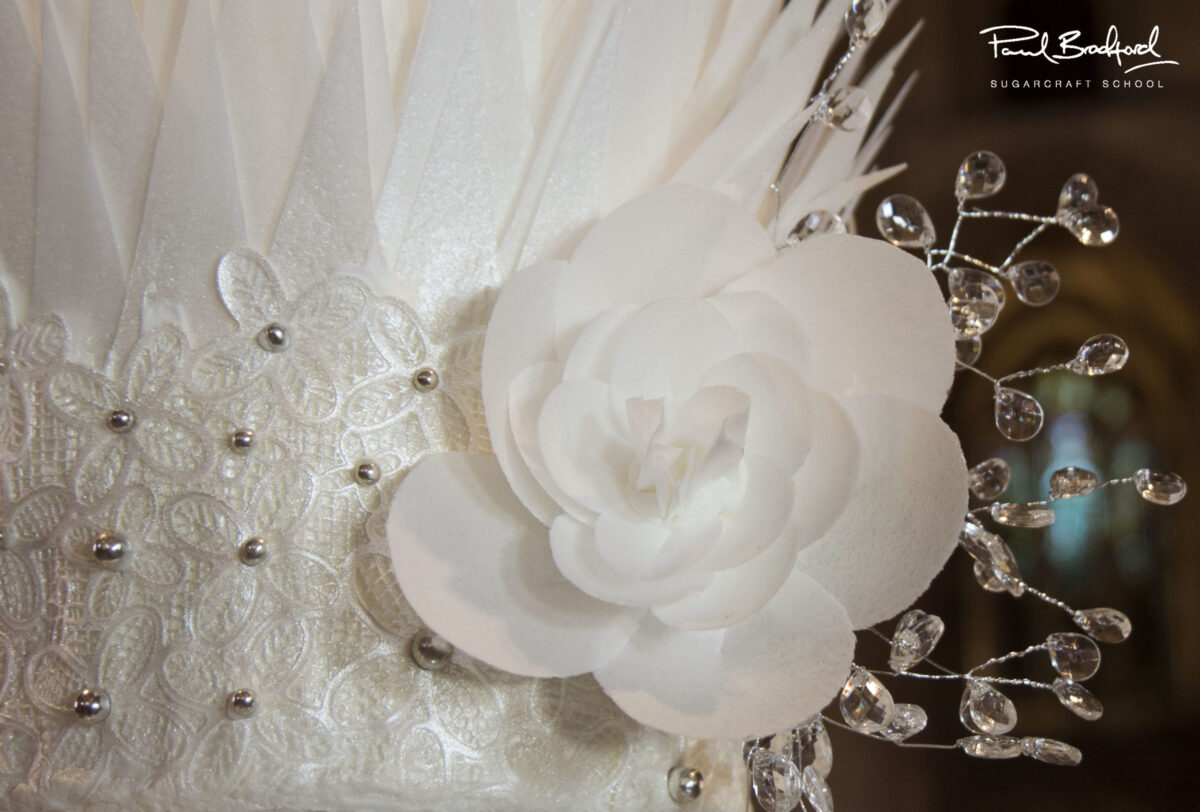
5. Adding the Lace
6. Adding the Crystal Balls
Time to add some bling! We all love a bit of bling but of course it has has to be added in a tasteful and classy way. This part can get a bit fiddly and we recommend that you get yourself comfortable as this is quite a lengthy process, but again a very rewarding one.
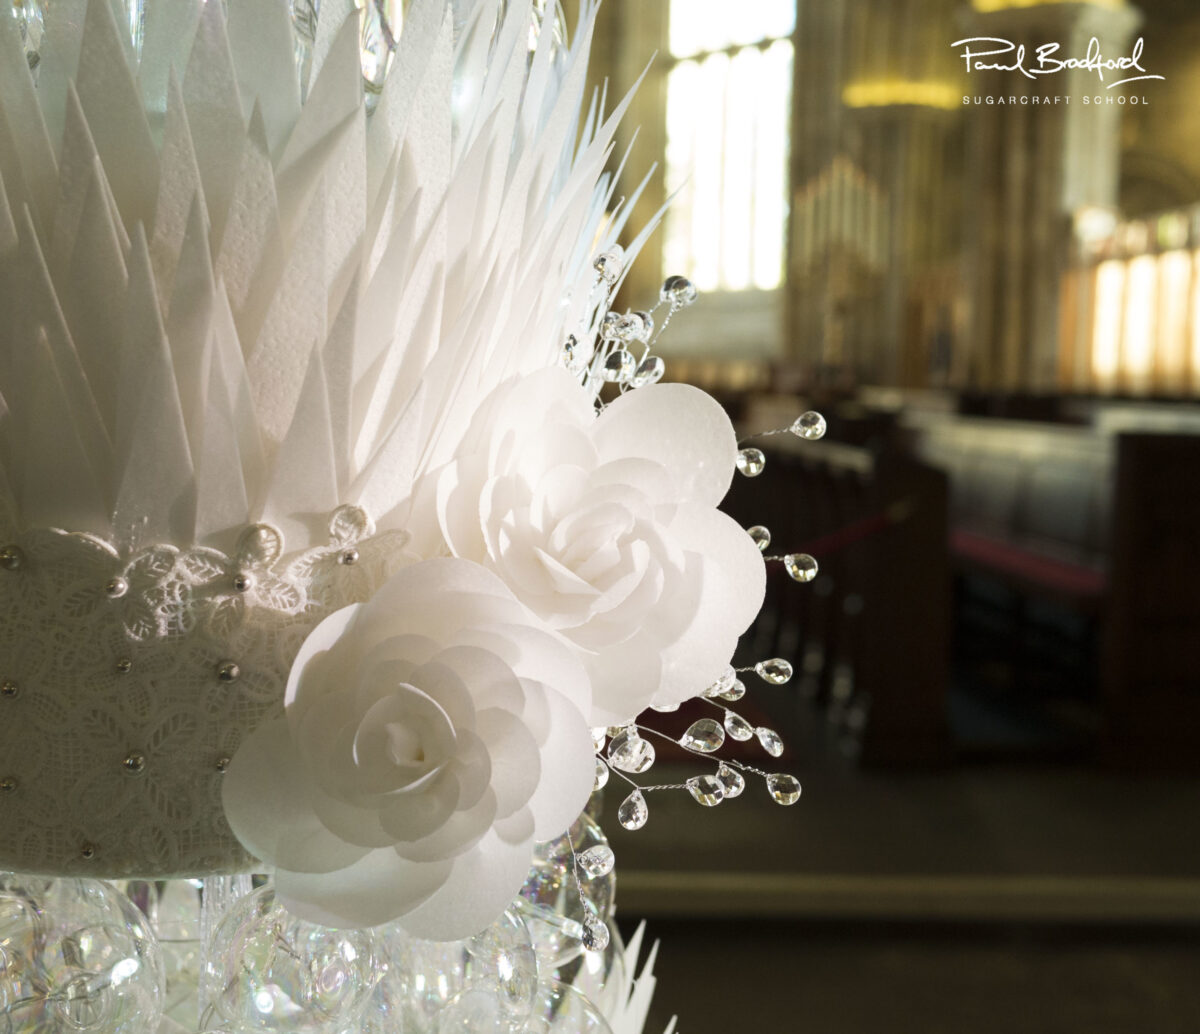
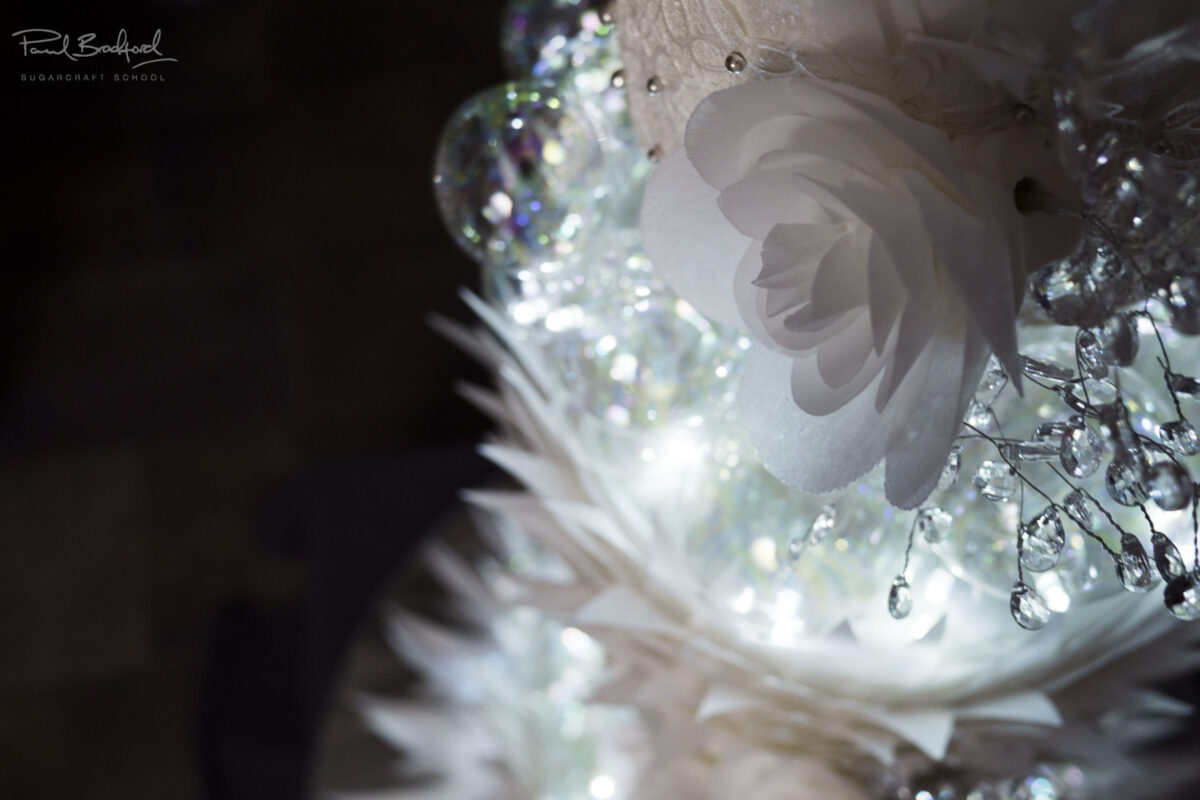
7. Making the Large Flower Petals
8. Finishing the Wafer Paper Flowers
If you would like to see how the glass baubles stands are made, you can find out by watching the Supporting Lesson at the foot of the page.
9. Building the Cake
10. Adding the First Set of Lights
11. Decorating the Base
12. Adding Lights and Baubles to the Base
13. Assembling the Cake and Adding the Flowers
14. Finishing Touches
15. Extra Lesson - Making the stand
You may have already seen this Lesson on Paul’s original Crystal Palace cake, but here’s a quick reminder.
16. Other Ideas
17. Pro Members
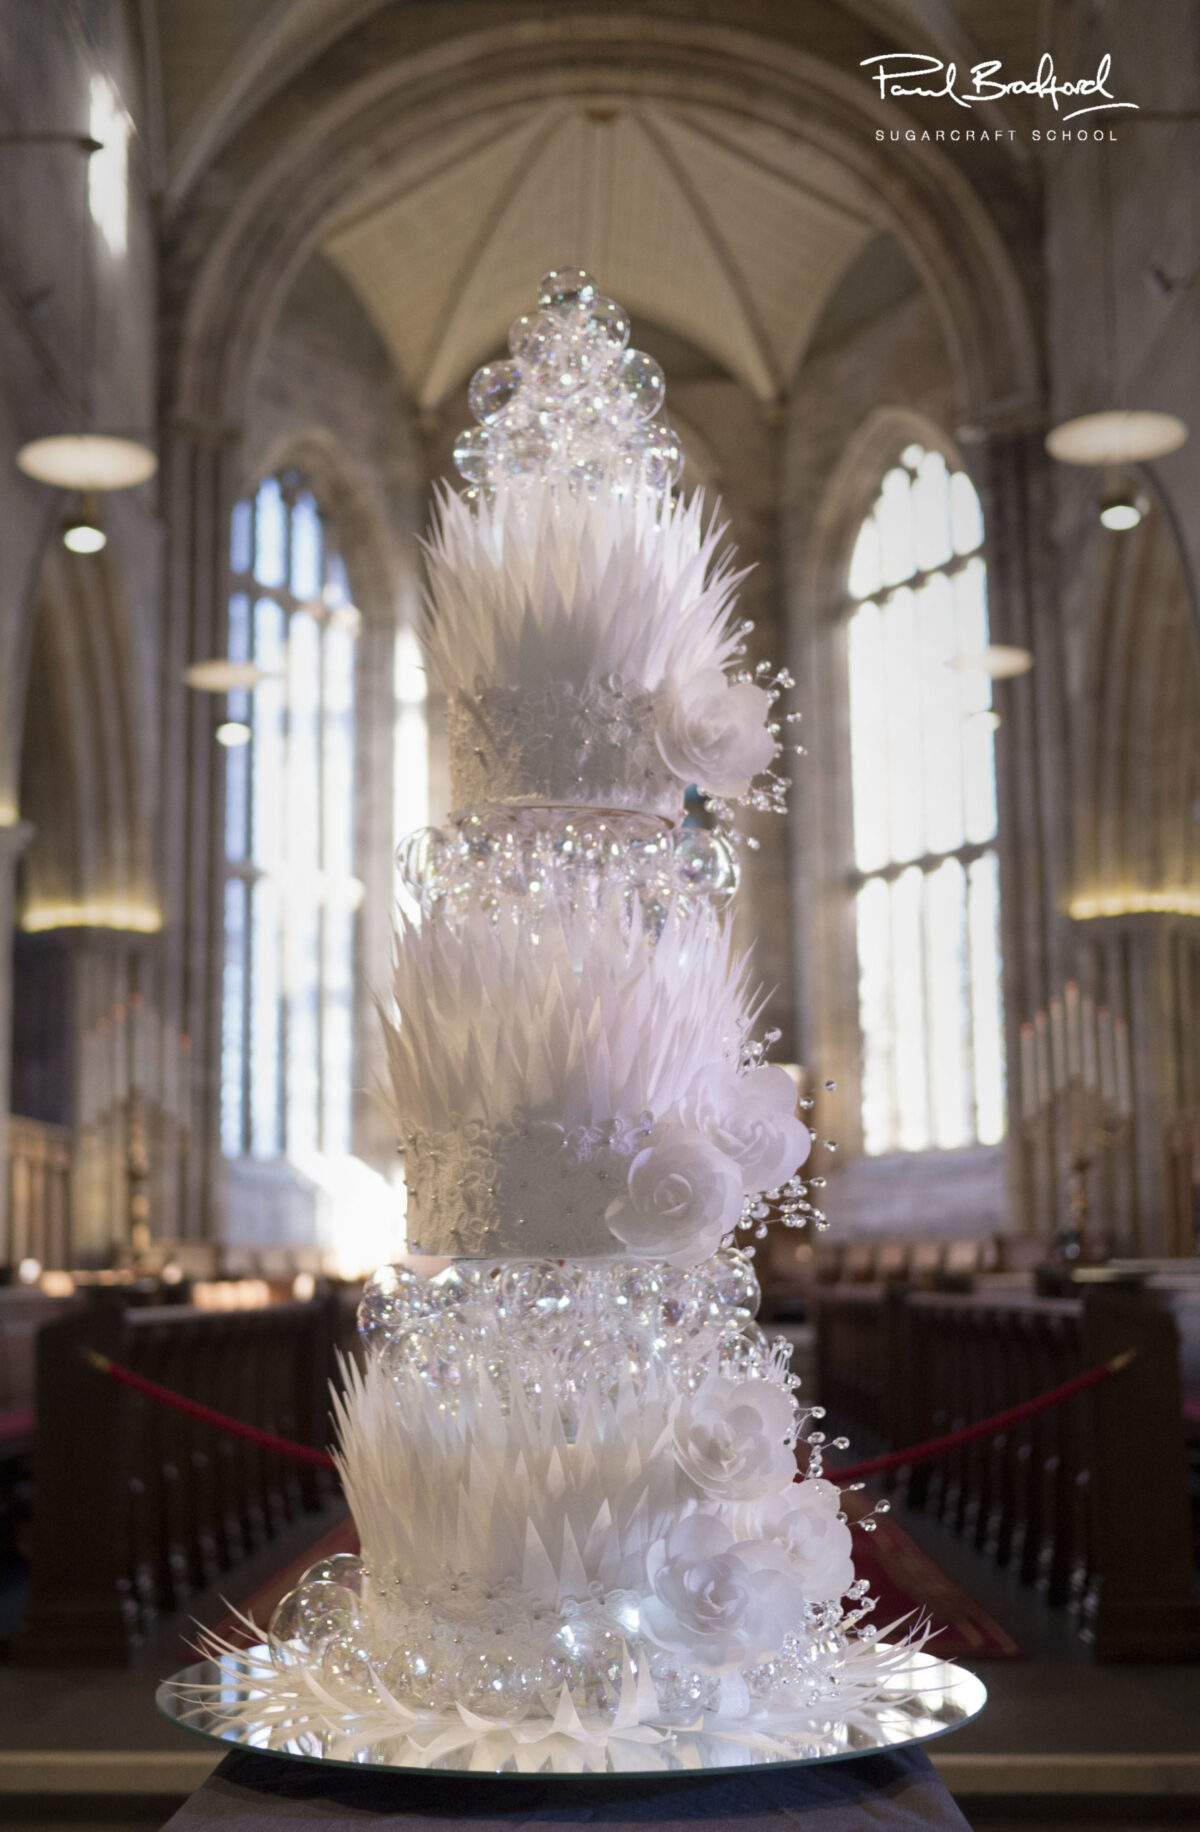
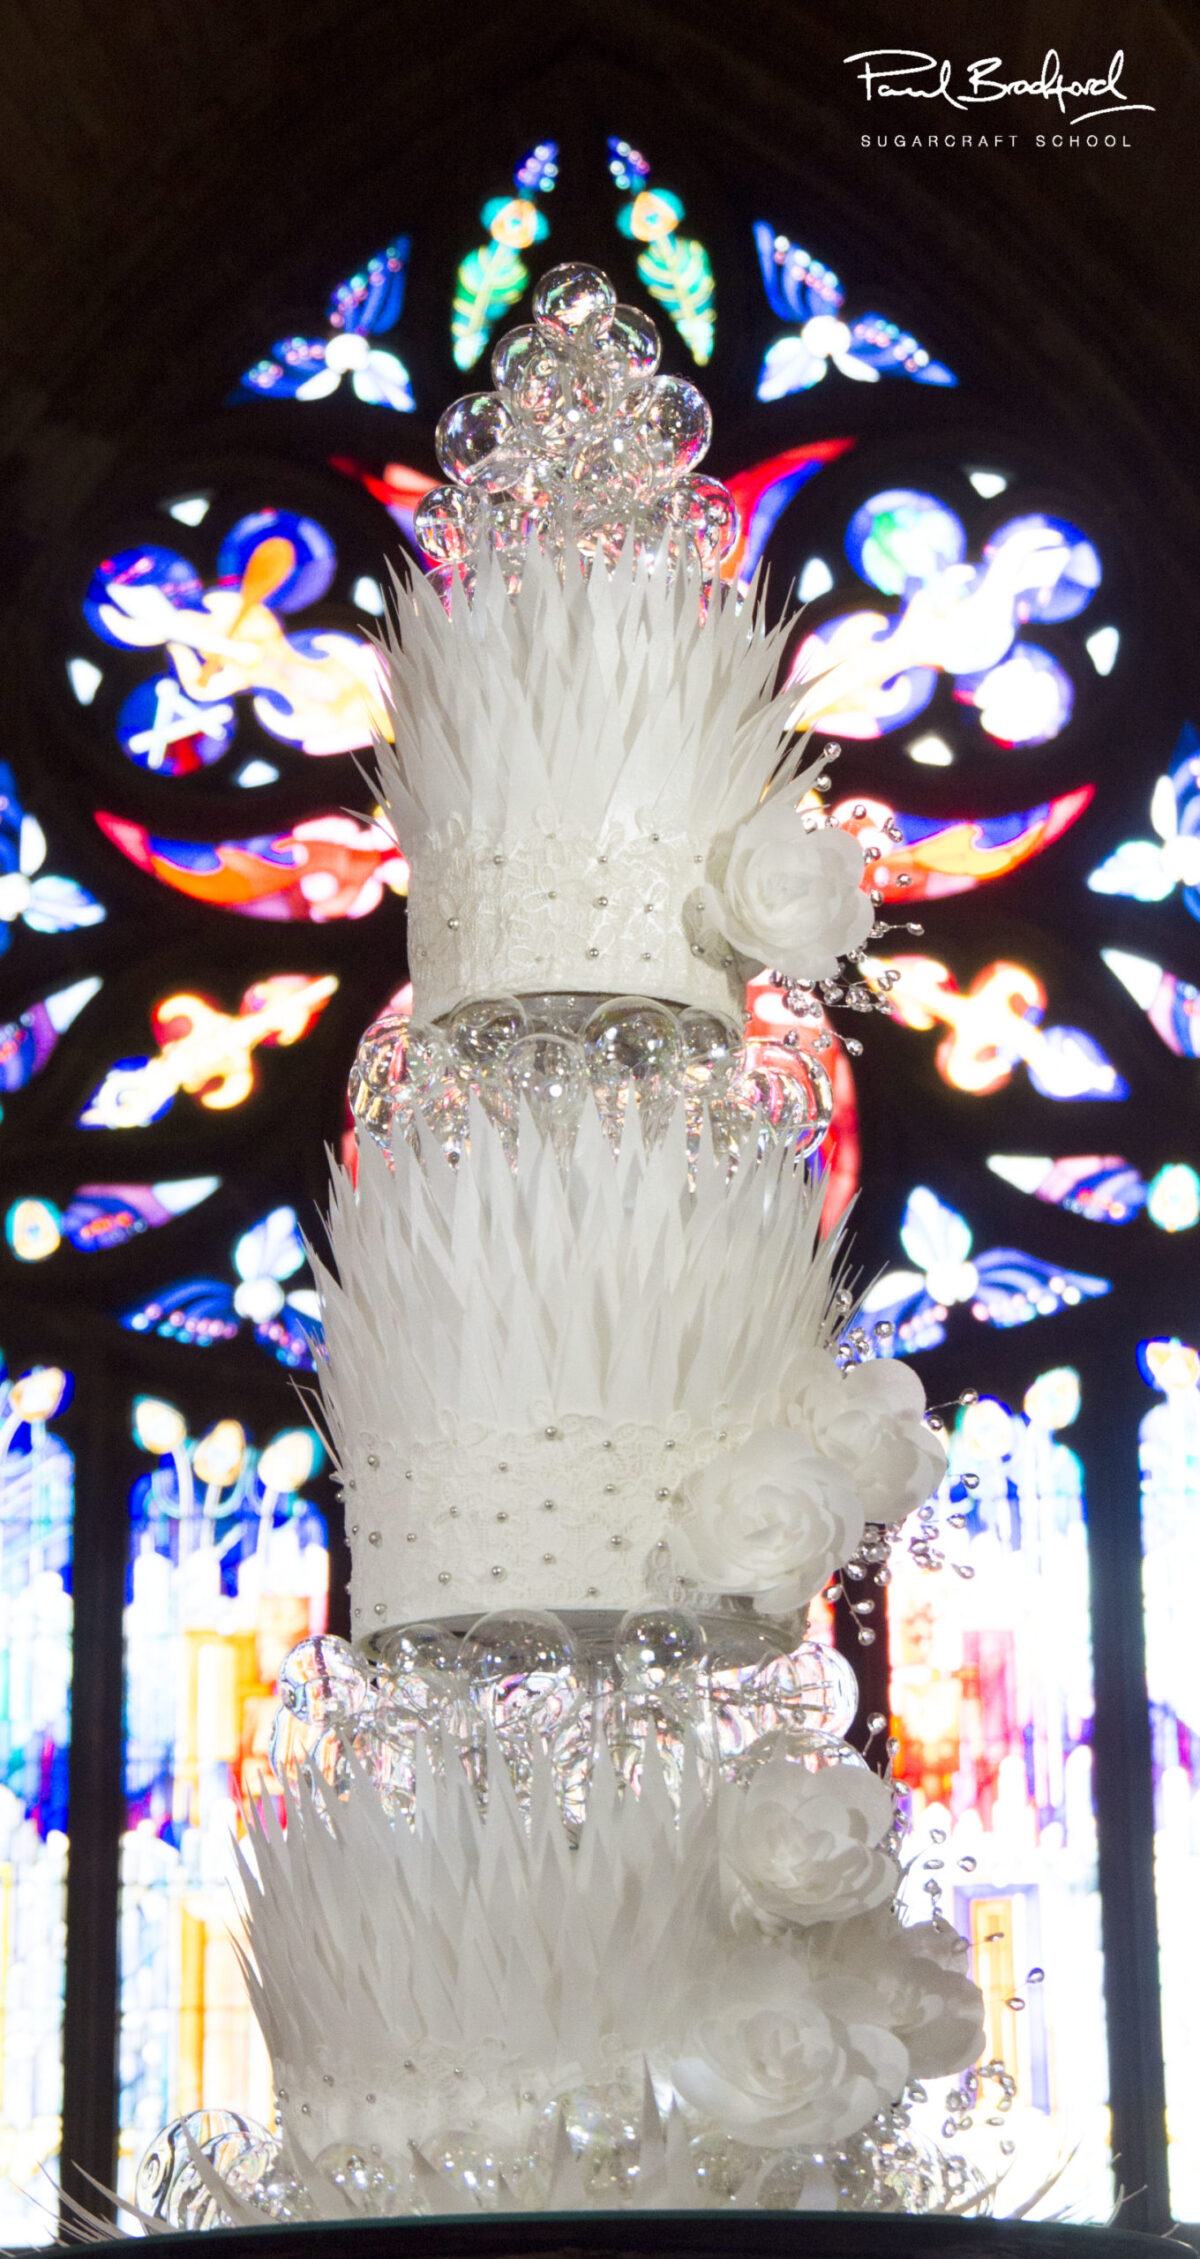
Paul’s truly impressive Crystal Wedding Cake will make an incredible centrepiece for a modern wedding or major celebration. The design is based on Paul’s popular Crystal Palace Cake, with even more lovely details incorporating delicate cake lace and wafer paper flowers. This course is suitable for intermediate to advance level and requires one full day to create.
We would love to see your take on the Crystal Wedding Cake – please share your photos with us on our Facebook Page!